
A weekend kitchen job is one you can finish in two days without opening walls, moving plumbing stacks, or waiting on custom millwork. Hardware, paint, peel-and-stick tile, a faucet swap, and most styling work fit that window. Pendant lights and hardwired under-cabinet strips can still happen on a Saturday, but they are electrician jobs unless you are swapping a fixture on an existing junction box and you are qualified to do so.
Costs below are USD with a rough PKR conversion at about 280 rupees to the dollar. Prices assume you already own a screwdriver, tape measure, and spirit level. Where a licensed electrician is required, that is stated in the section — do not treat those as DIY just because they are short.
1. Swap Out Cabinet Hardware
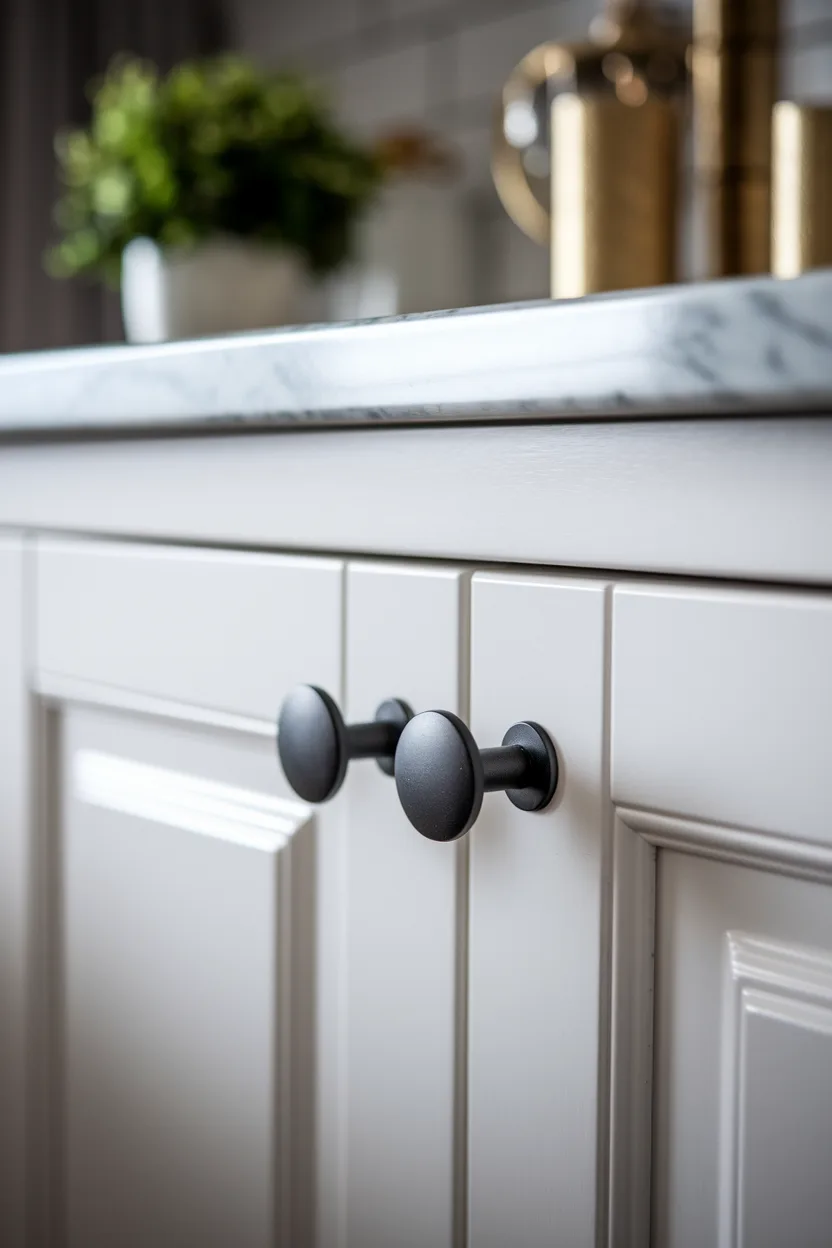
Replace knobs and pulls on existing doors and drawers. Do not drill new holes unless the doors are solid wood you can fill cleanly. Measure center-to-center on every pull before you order: 76 mm (3 in) and 128 mm (5 in) are the two sizes that fit most 1990s–2010s kitchens. Knobs use a single 8-32 or M4 screw; confirm screw length against door thickness so the tip does not poke through.
Cost: $3–12 per piece; a 20-piece kitchen is about $80–250 (Rs 22,000–70,000). Time: 2–4 hours. Skill: beginner. Common mistake: mixing 96 mm pulls with 128 mm holes, then drilling extra holes in laminate doors that you cannot patch. Buy one sample pull, test it on a less-visible drawer, then order the rest.
2. Install Peel-and-Stick Backsplash Tiles
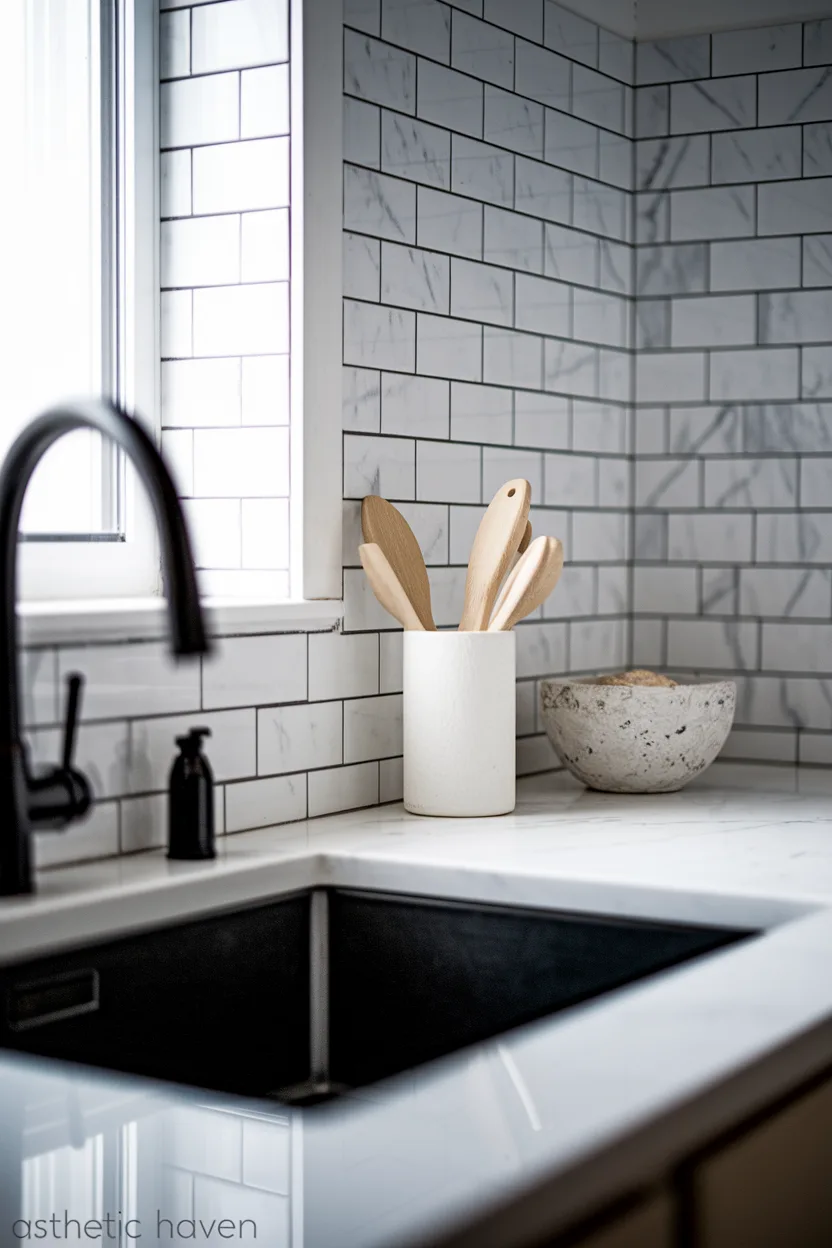
Vinyl or gel peel-and-stick sheets cover a painted or existing tile wall without mortar. They are a weekend job on a clean, dry, grease-free surface. They are not a substitute for ceramic behind a gas hob that sees heavy frying — heat-rate the product (most are rated to about 50–80°C / 122–176°F) and keep at least 10 cm (4 in) of clearance from an open flame, or use a real tile strip there.
Cost: $4–12 per sq ft; a typical 18 sq ft run is $70–220 (Rs 20,000–62,000) plus $15 (Rs 4,200) for TSP cleaner and a utility knife. Time: 4–8 hours including degrease and cutouts. Skill: beginner to intermediate. Common mistake: sticking tiles onto cooking grease. Wash with TSP or a strong degreaser, rinse, and let the wall dry overnight if it was wet. Start from a level line, not the counter, if the counter is out of level by more than 3 mm.
3. Paint the Kitchen Island Accent
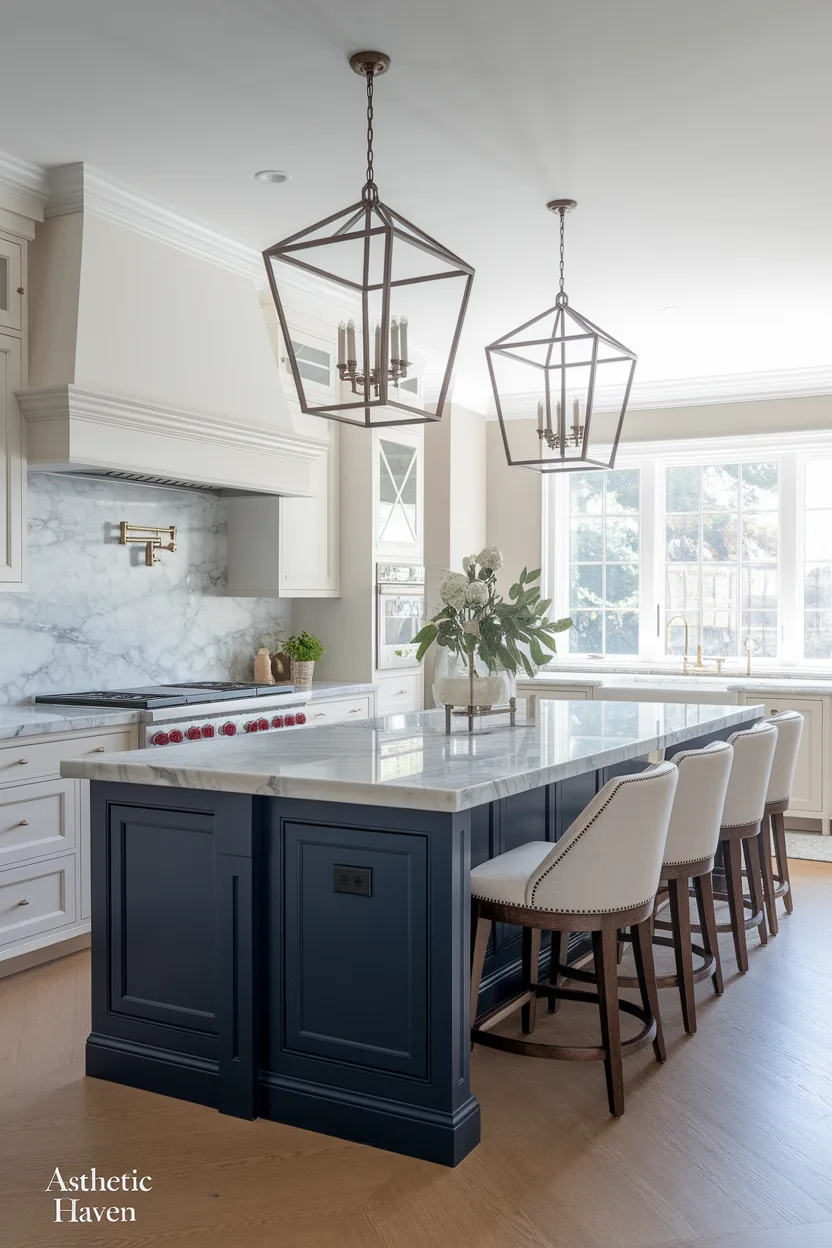
Painting only the island is a real weekend job; painting every perimeter cabinet is not. Remove doors and drawers, degrease, scuff-sand with 220 grit, prime with a bonding primer, then two coats of waterborne alkyd or cabinet enamel in satin or semi-gloss. You can rehang doors Sunday evening, but full hardness takes 7 days — treat the island gently that week.
Cost: $40–80 (Rs 11,000–22,000) for primer plus 1 quart of enamel; $80–150 (Rs 22,000–42,000) if you need a sprayer rental. Time: 8–12 hours over two days, plus cure. Skill: intermediate. Common mistake: skipping degrease on a cooking island, then watching paint peel around the handles. Spec: one quart covers about 100 sq ft; a typical 4 × 2 ft island with doors is 40–60 sq ft of paintable face. Pick a color with a green or brown undertone, not a blue-gray, if your floor is oak or beige tile.
4. Upgrade to Statement Pendant Lighting
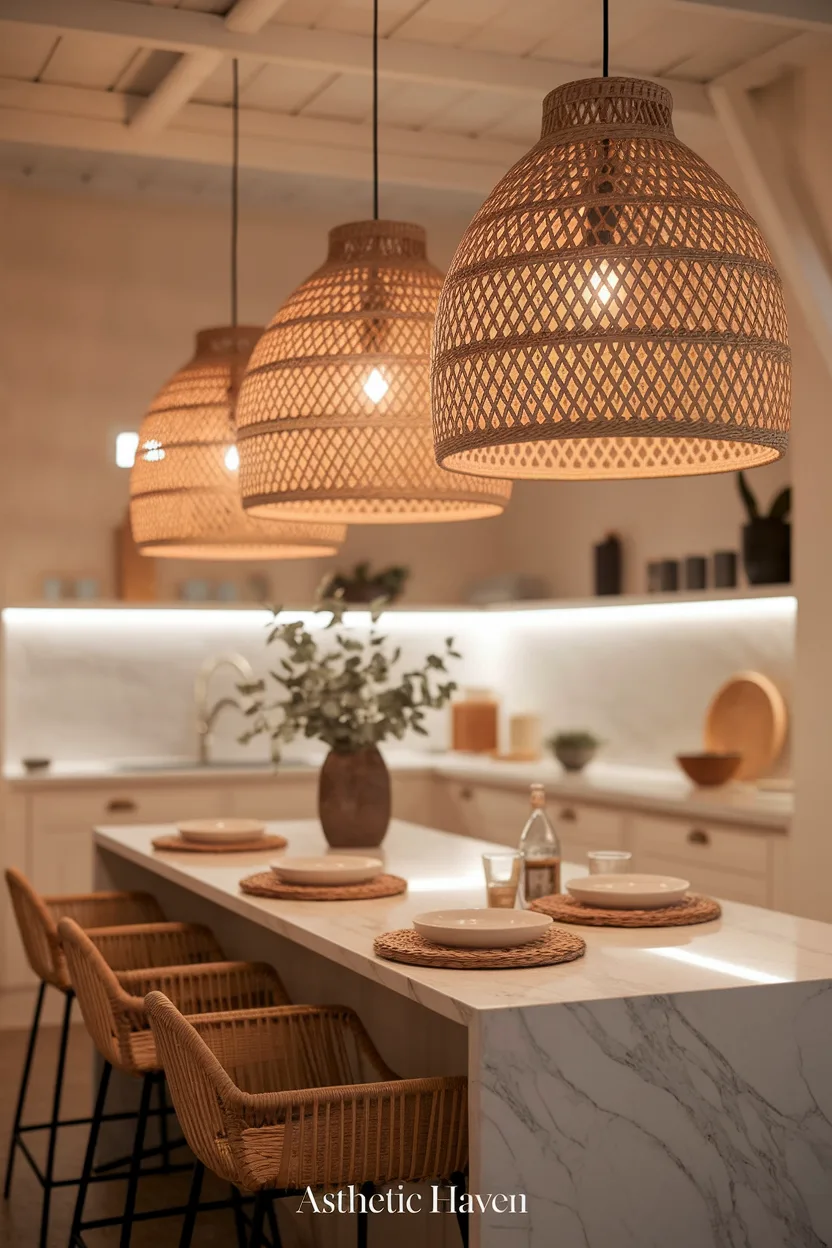
Swapping a pendant onto an existing ceiling box is a short job. Adding a new box, running cable through a finished ceiling, or installing a dimmer on an unmarked circuit is electrician work — budget a half-day visit, not a DIY Saturday. In Pakistan, hire a licensed electrician for any new wiring; do not open a live ceiling box if you are not qualified.
Cost: fixtures $40–180 each (Rs 11,000–50,000); electrician $80–200 (Rs 22,000–56,000) for a like-for-like swap, more if new cable is needed. Time: 1–2 hours per fixture with a pro. Skill: hire a pro unless you are qualified. Common mistake: hanging the shade too low so you look into the bulb from the sofa. Spec: 76–91 cm (30–36 in) from countertop to the bottom of the fixture; use 2700K–3000K bulbs, CRI 90+, on a dimmer. Space two pendants by dividing the island length into thirds, not by copying a three-light photo on a 1.5 m island.
5. Add Floating Wood Shelves
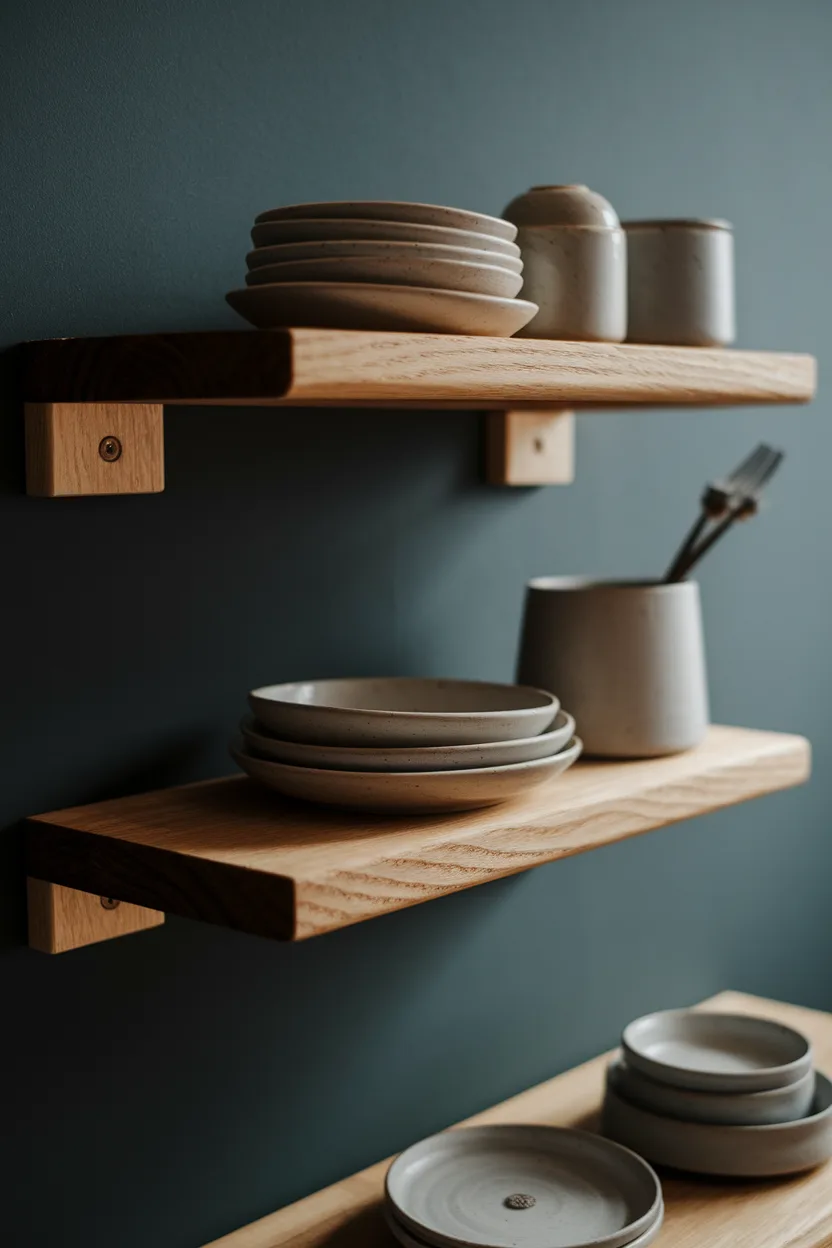
One or two shelves beside a window or in place of a single upper cabinet is a weekend job. Removing a full run of uppers is demolition plus drywall repair — that is not a weekend. Find studs (usually 16 in / 406 mm on center). Hollow-wall anchors are not enough for stacked dinner plates.
Cost: $40–120 per shelf (Rs 11,000–34,000) for a 60–90 cm solid wood board plus hidden steel rods. Time: 3–5 hours for two shelves. Skill: intermediate. Common mistake: hanging on drywall only, then watching the shelf sag under ceramic. Spec: 38 mm (1.5 in) thick boards look like furniture; 18 mm plywood looks cheap. Load rating should be at least 20 kg (44 lb) per shelf. Keep 45–50 cm (18–20 in) between shelf and counter so you can still use the worktop.
6. Refresh Countertop Styling with Trays
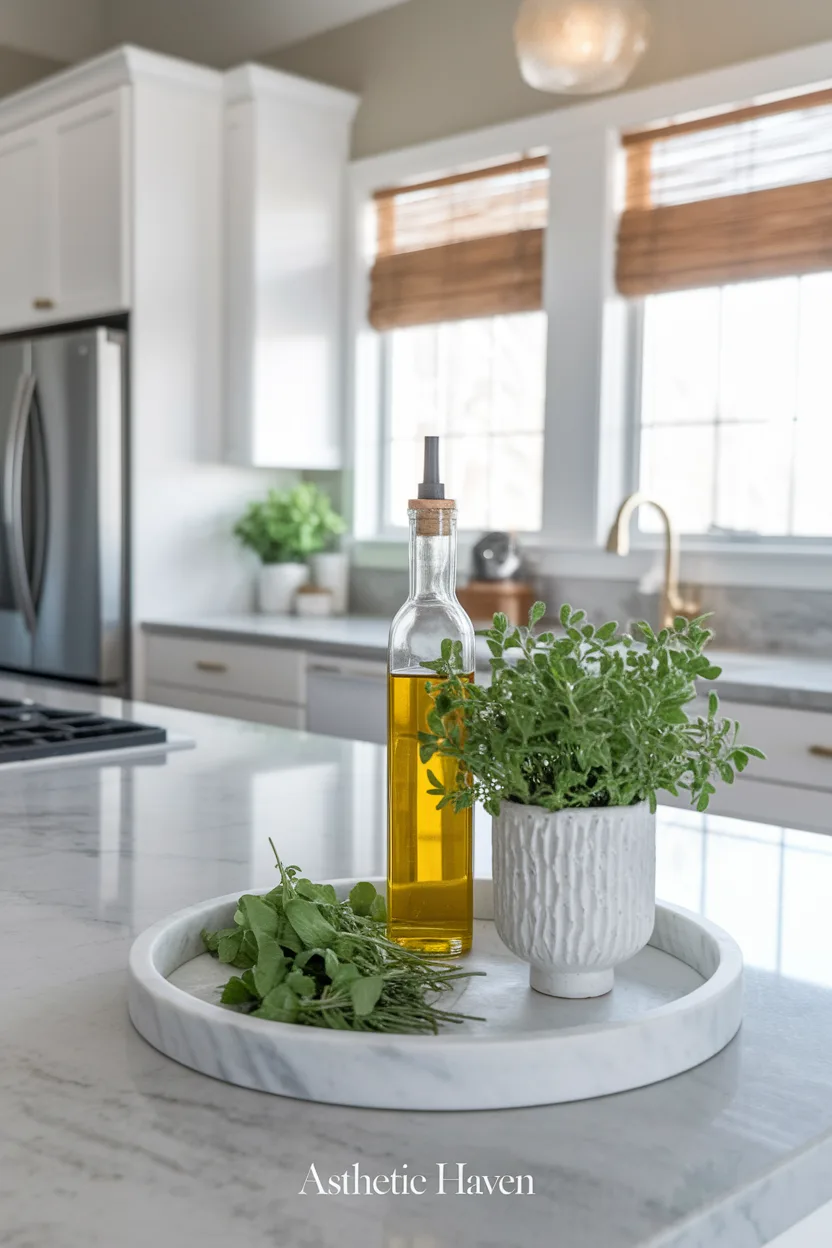
A tray is a 20-minute edit, not a renovation. Use one tray at the hob and one at the sink. Everything else goes in a cupboard. This is the fastest visual change on the list and it costs less than a single cabinet pull set.
Cost: $15–40 (Rs 4,200–11,000) for a wood or metal tray. Time: 20–40 minutes. Skill: beginner. Common mistake: three trays plus a cutting board plus a fruit bowl, which is just clutter with better props. Spec: a 30 × 40 cm tray holds oil, salt, and a soap bottle without blocking a 60 cm work zone. Leave at least 80 cm of clear counter next to the hob.
7. Hang Art and Framed Prints
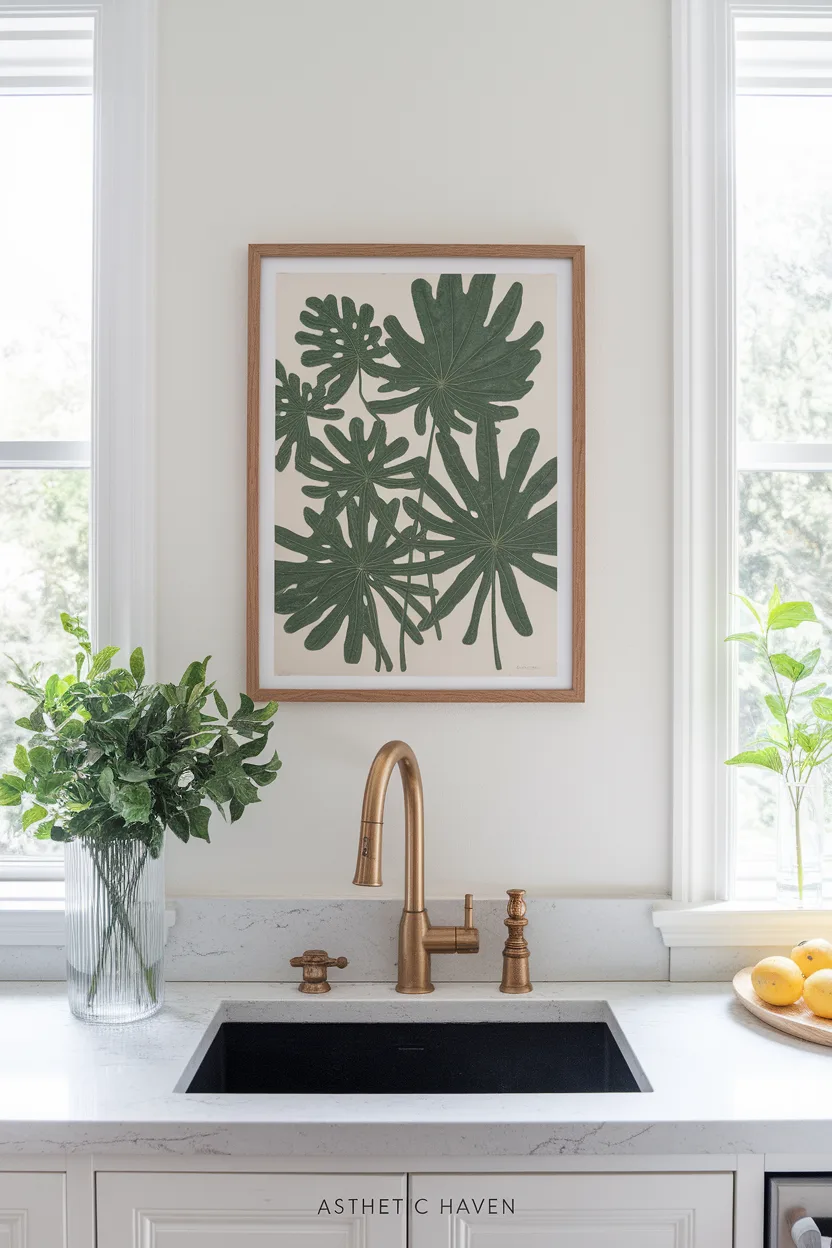
A kitchen wall that is not a splash zone can take a framed print. Use glass, not open canvas, and hang it at least 90 cm (36 in) from the hob and 60 cm (24 in) from the sink splash. Match frame metal to hardware if you already swapped pulls; otherwise a simple black or oak frame is enough.
Cost: $25–80 (Rs 7,000–22,000) for a 40 × 50 cm print in a ready frame. Time: 30–60 minutes. Skill: beginner. Common mistake: hanging unframed paper near the cooker, then watching it yellow from grease. Spec: center the artwork 145–155 cm (57–61 in) from the floor, the same height you would use in a hallway, so it lines up with adjacent rooms.
8. Install Under-Cabinet LED Strip Lighting
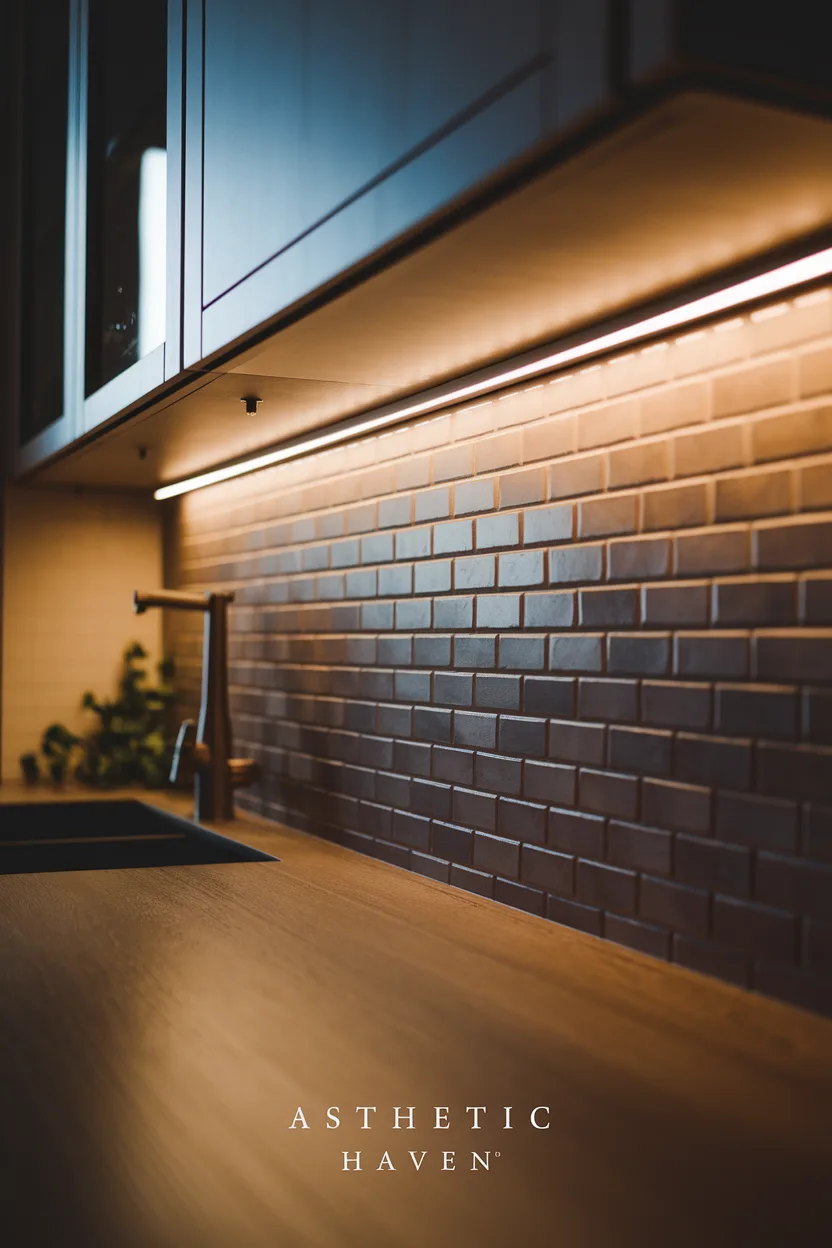
Plug-in LED kits are a weekend DIY. Hardwiring strips into a wall switch, cutting into a cabinet for a driver, or tying into an existing lighting circuit is electrician work. If your kitchen has no spare outlet under the uppers, hire the electrician and do the rest of the list this weekend instead of improvising with extension cords on the counter.
Cost: $25–70 (Rs 7,000–20,000) for a 2–4 m plug-in kit; electrician $100–250 (Rs 28,000–70,000) for a switched, hardwired run. Time: 2–3 hours DIY; half a day with a pro. Skill: beginner for plug-in; hire a pro for hardwire. Common mistake: 6500K “daylight” strips that make food and wood look grey. Spec: 2700K–3000K, CRI 90+, 300–500 lumens per metre, mounted in an aluminum channel 5 cm (2 in) back from the cabinet front so the diode is hidden.
9. Lay Down a Stylish Runner Rug
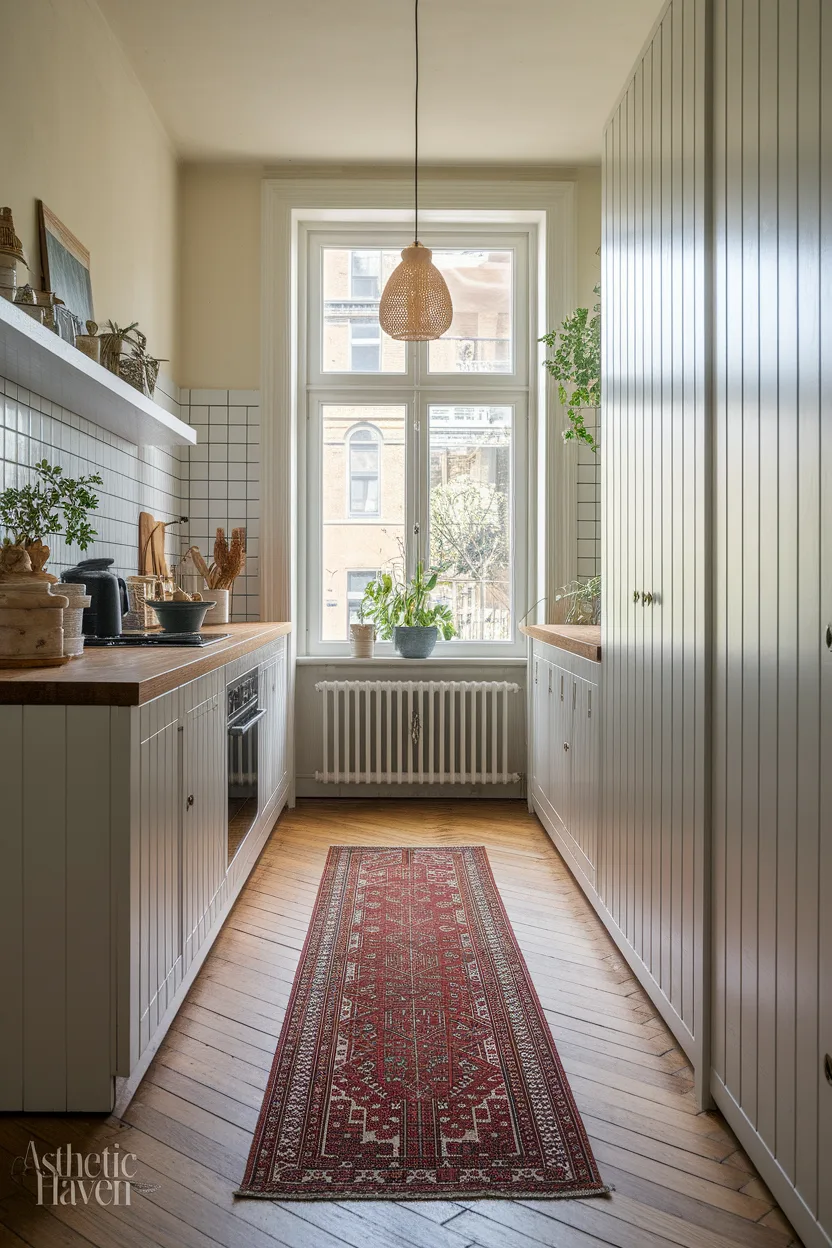
A runner covers the main walk path, not the whole floor. Choose a low pile so cabinet doors and the dishwasher can open over it. Put a non-slip pad under it — kitchens are wet.
Cost: $40–120 (Rs 11,000–34,000) plus $15–25 (Rs 4,200–7,000) for a pad. Time: 15 minutes. Skill: beginner. Common mistake: a thick wool rug that the dishwasher door hits, or a runner that stops 20 cm short of the fridge so you still stand on bare tile at the busiest spot. Spec: 60–75 cm wide; length should be the walkway minus 15 cm at each end. Machine-washable polyester or cotton, not viscose, which mats when wet.
10. Replace the Faucet with a Modern Design
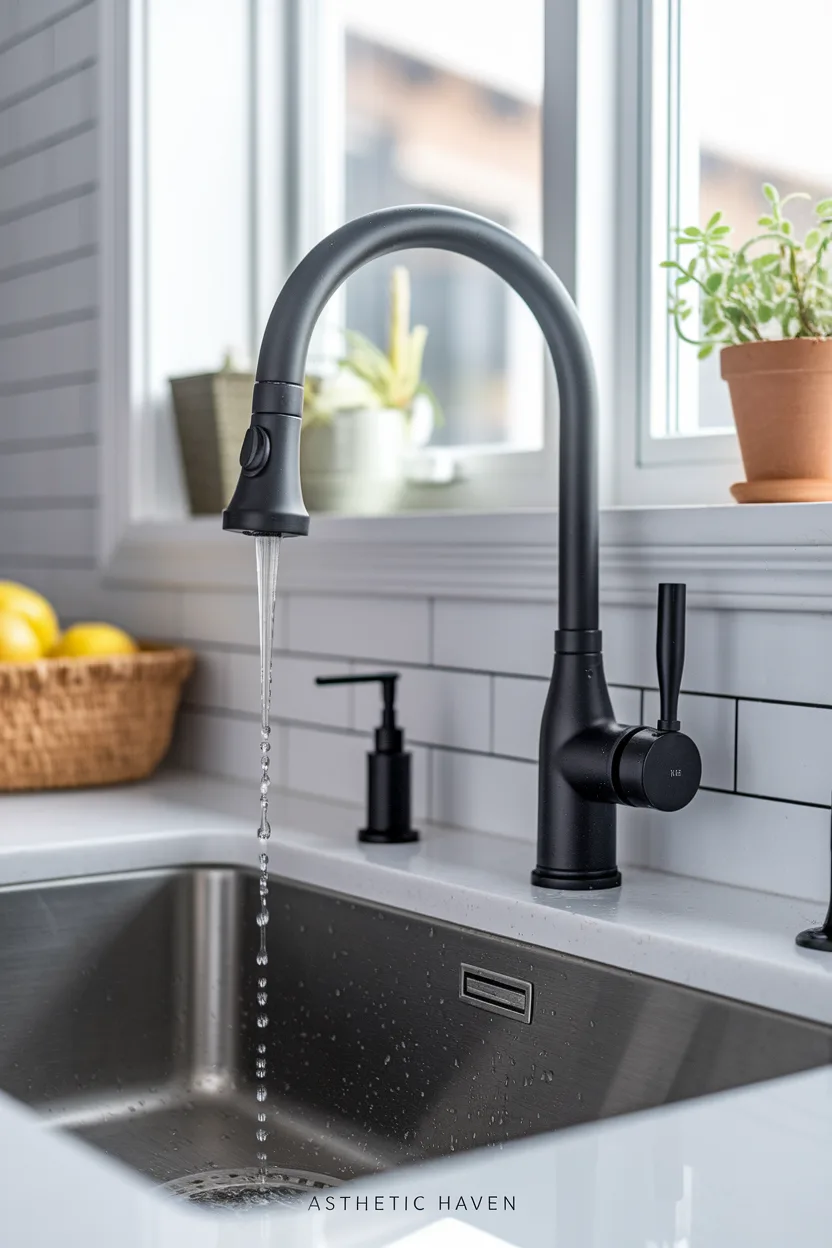
A like-for-like faucet swap is a weekend plumbing job if the hole count matches. Count holes in the sink deck: 1, 2, 3, or 4. A single-hole pull-down with a deck plate can cover extra holes. Shut off the angle valves, photograph the supply lines, and replace the supply hoses if they are old braided lines. If the shutoffs freeze or the sink is undermount with no access, call a plumber — that is no longer a two-hour job.
Cost: $80–250 (Rs 22,000–70,000) for a ceramic-disc pull-down; plumber $60–120 (Rs 17,000–34,000) if you hit a seized nut. Time: 1–2 hours. Skill: intermediate. Common mistake: buying a 4-hole faucet for a 1-hole sink, or overtightening the mounting nut and cracking a composite sink. Spec: 8-inch (203 mm) widespread vs single-hole is the measurement that matters. Spout height should clear your tallest pot — 40 cm (16 in) clearance from deck to spout tip is a workable minimum.
11. Upgrade Cabinet Door Profiles with Trim
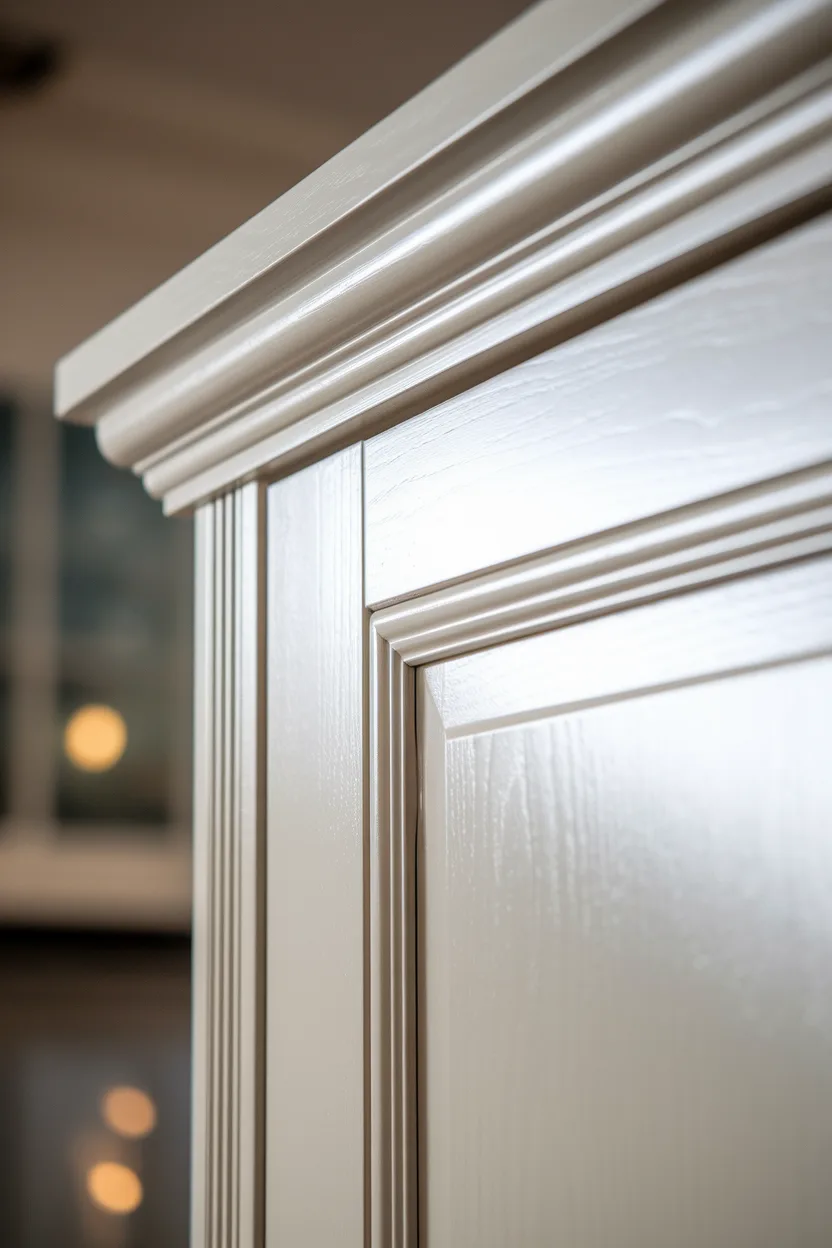
Glue thin molding onto flat slab doors to fake a Shaker frame. This is a full weekend, not an afternoon: every door comes off, gets trimmed, filled, sanded, and painted. It only works on doors thick enough to take a 6–10 mm molding without looking stuck-on. Skip thermofoil doors that peel when you sand them.
Cost: $30–80 (Rs 8,000–22,000) for lattice or screen molding plus glue, filler, and paint. Time: 10–16 hours. Skill: intermediate. Common mistake: 45° miters that do not meet, then painting over the gaps. Cut one test frame first. Spec: 6–9 mm (1/4–3/8 in) thick molding; inset the frame 50–64 mm (2–2.5 in) from each door edge so it reads as a Shaker rail, not a picture frame glued to the middle.
12. Display Fresh Greenery and Florals
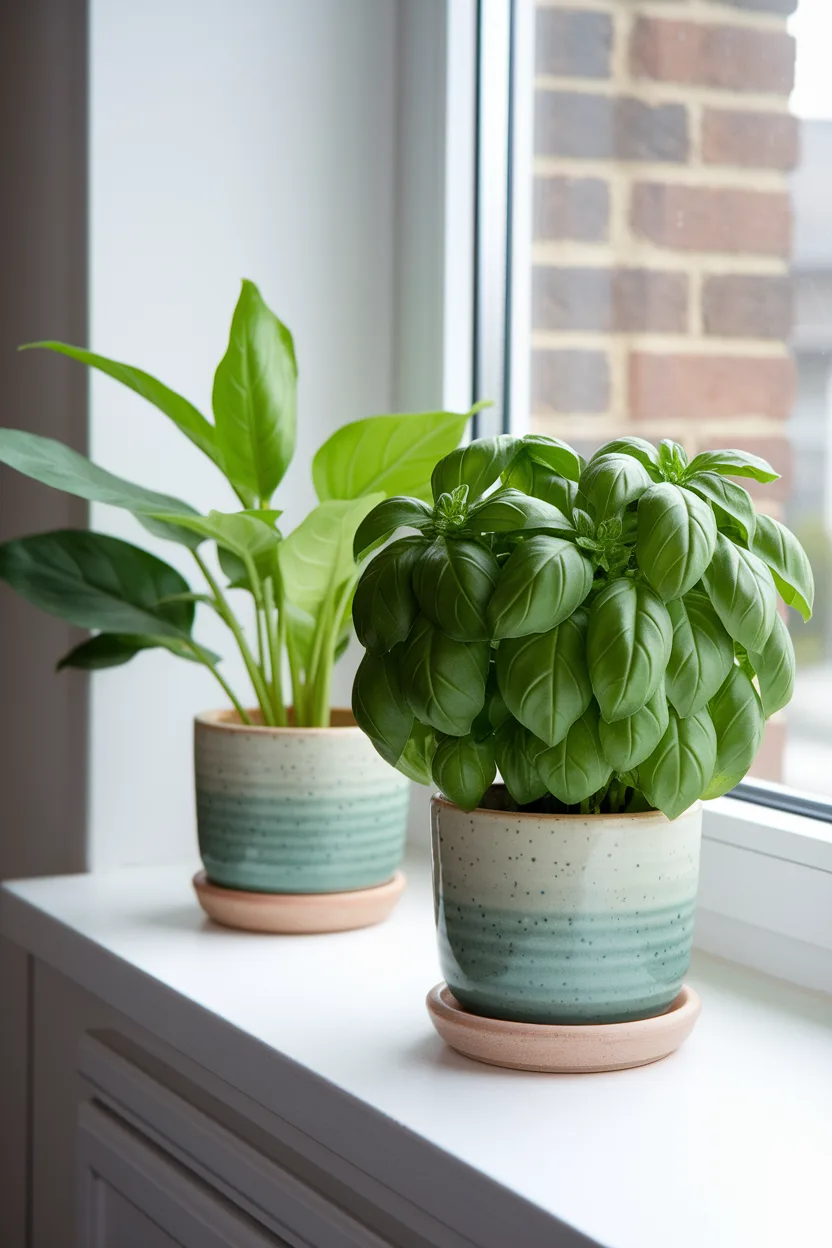
One pot of herbs on the sill and one vase on the island is enough. Fake ivy on top of the cabinets collects grease and is the thing this site tells people to skip in the dated-trends piece. Use plants that tolerate kitchen light: pothos, snake plant, or basil if you have a bright window.
Cost: $10–30 (Rs 2,800–8,400). Time: 20 minutes. Skill: beginner. Common mistake: a plant on the hob splash zone that dies in a week from heat. Spec: a 12–15 cm pot; terracotta breathes, plastic holds water longer in AC rooms. Keep soil 2 cm below the rim so you can water without staining the worktop.
13. Upgrade Electrical Switchplates and Outlets
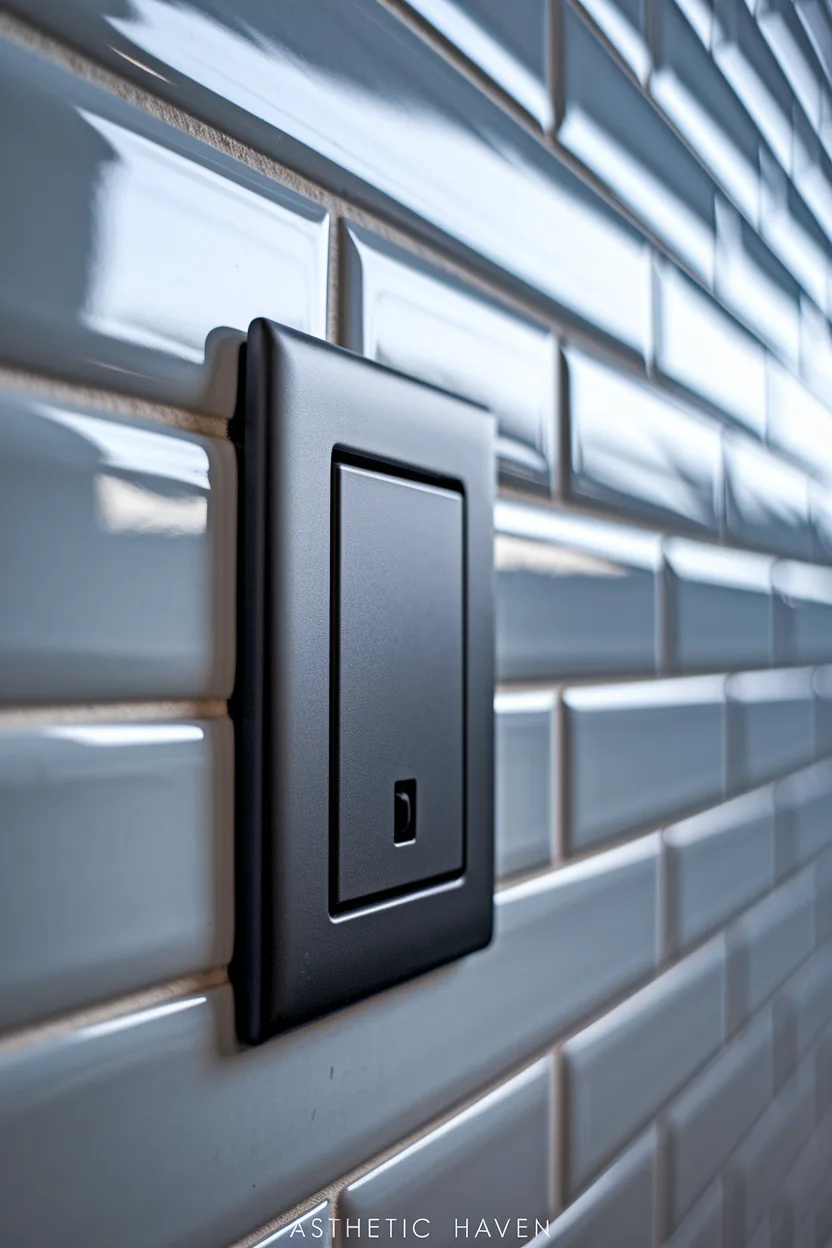
Replacing plates is DIY: turn the breaker off, unscrew the old cover, snap on a screwless plate. Replacing the outlet or switch itself is electrician work if you are not qualified — kitchen circuits should be GFCI/RCD protected. Do not mix this job with “while I’m in here I’ll add a USB outlet” unless a pro is doing it.
Cost: $3–8 per plate (Rs 840–2,200); a kitchen is usually 6–12 plates, $20–80 (Rs 5,600–22,000). Time: 30–45 minutes. Skill: beginner for plates only. Common mistake: painting over old yellowed plates instead of replacing them, or leaving the breaker on. Spec: standard US/PK plates cover a 114 × 70 mm device; if your boxes are odd sizes, measure before buying “decorator” screwless kits. Match plate color to wall paint, not to black hardware, unless the wall is also dark.
14. Add Woven Storage Baskets and Bins
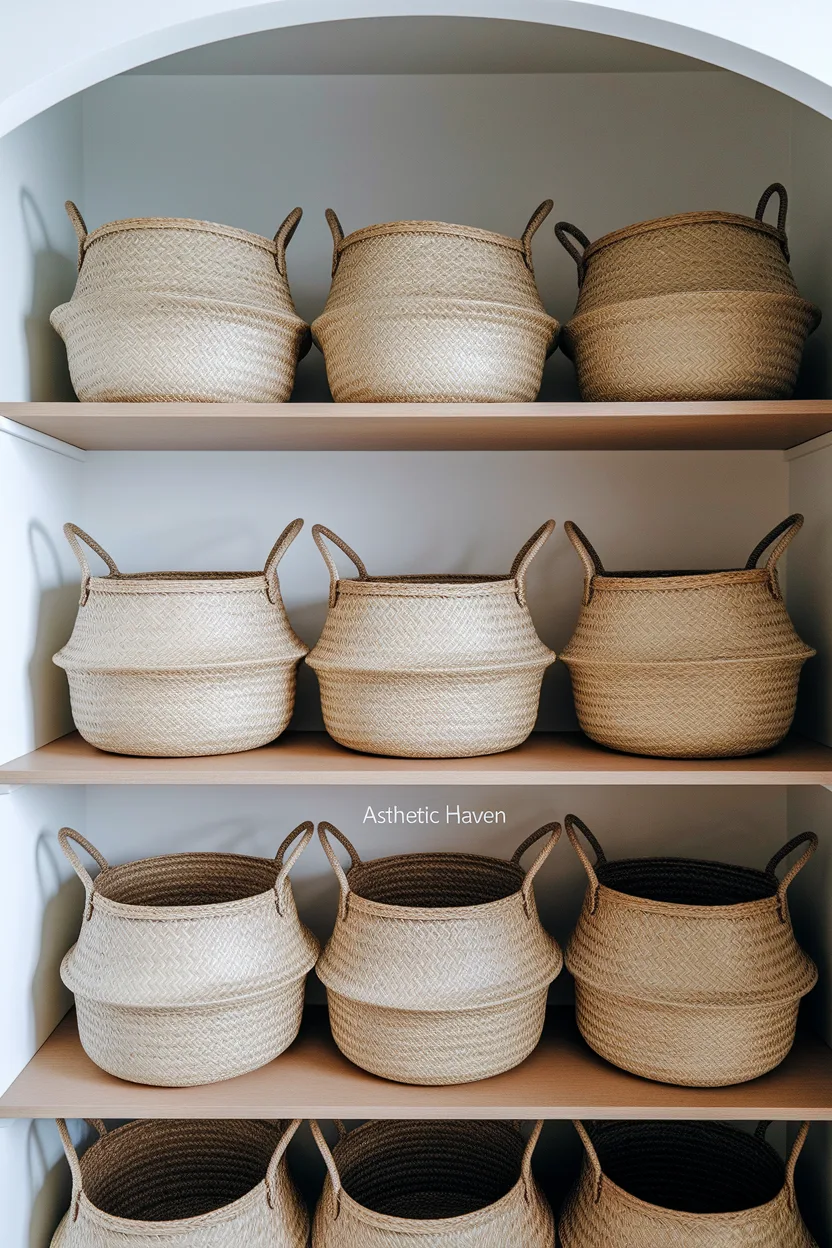
Baskets only help if they fit the shelf. Measure depth, width, and the height to the shelf above. Open-weave seagrass looks fine on a pantry shelf; it is a grease trap above the hob. Use identical sizes in a row so the shelf reads as storage, not a craft stall.
Cost: $8–25 each (Rs 2,200–7,000); four baskets $30–80 (Rs 8,400–22,000). Time: 30–60 minutes including a shelf edit. Skill: beginner. Common mistake: baskets 5 cm too deep that you cannot pull out without dumping the contents. Spec: shelf depth minus 2 cm; a 30 cm deep pantry wants 28 cm baskets. Label the short side that faces you.
15. Hang a Statement Mirror
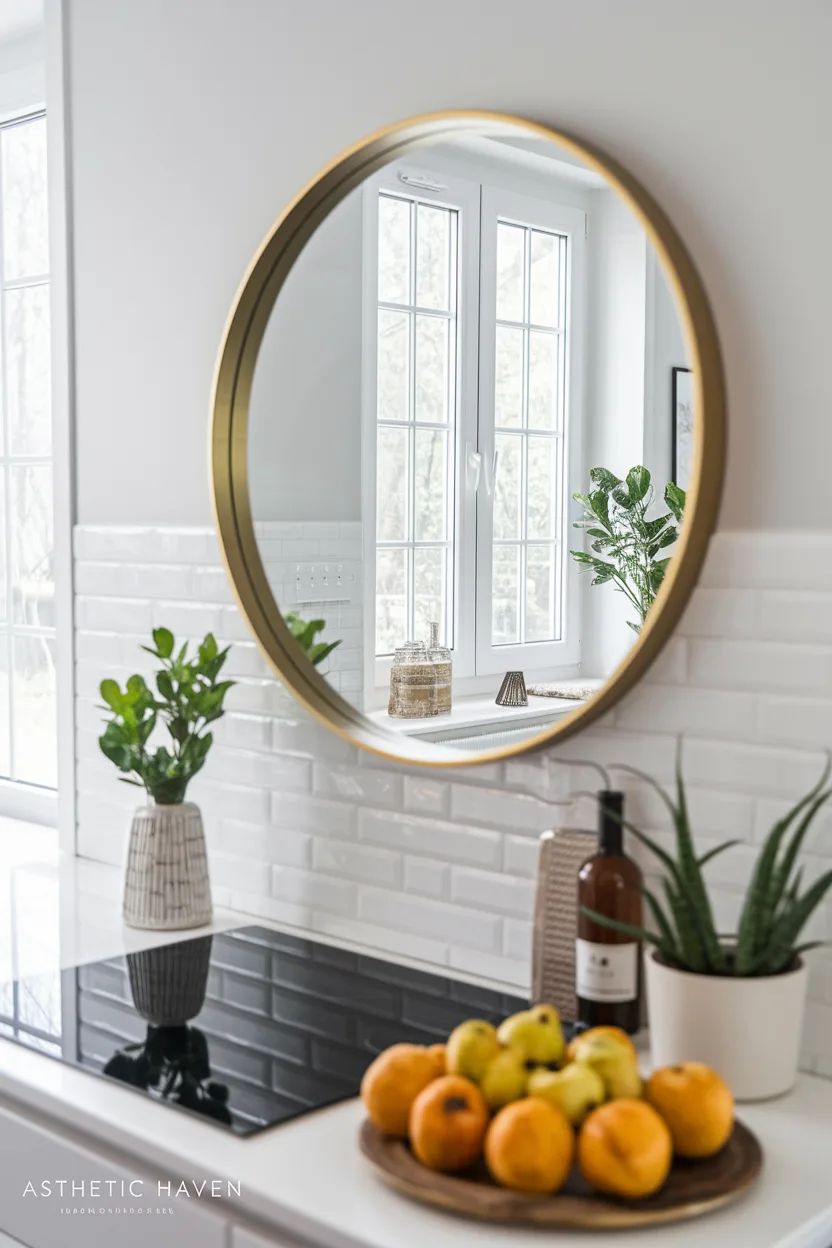
A mirror opposite a window bounces daylight into a galley or apartment kitchen. Hang it on a dry wall, not as a splashback. Use two wall anchors or a stud, not a single nail, and pick a sealed wood or metal frame that wipes clean.
Cost: $40–150 (Rs 11,000–42,000). Time: 45–90 minutes. Skill: beginner. Common mistake: hanging it over the hob or next to the sink where steam fogs it and grease films the glass. Spec: 50–70 cm wide is enough for most kitchen walls; hang so the center sits 145–155 cm from the floor. A 4 kg mirror needs two fixings rated 10 kg each, not one decorative hook.
16. Introduce Open Glass Storage Canisters
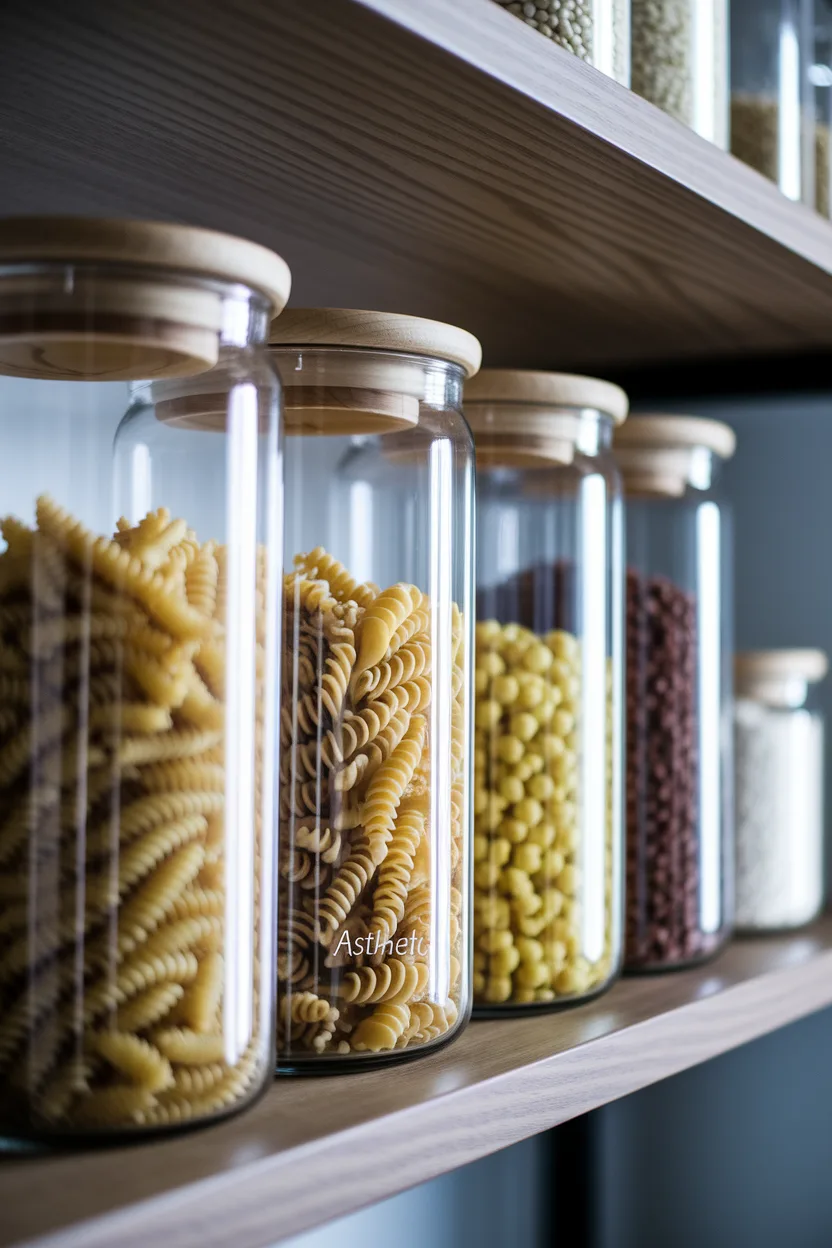
Decant flour, sugar, rice, and tea — the four things you reach for daily. Leave the rest in original packaging inside a cupboard. Buy jars with a silicone gasket, not a decorative lid that is not airtight.
Cost: $6–15 per jar (Rs 1,700–4,200); a set of four $25–50 (Rs 7,000–14,000). Time: 30–45 minutes. Skill: beginner. Common mistake: filling 20 matching jars for a photoshoot, then never refilling them. Spec: 1.5–2 L jars for flour and sugar; 1 L for rice and oats. Measure your shelf height first — a 25 cm jar will not fit a 24 cm opening.
17. Style a Coffee and Beverage Bar Nook

Group the kettle or machine, mugs, and beans on one tray next to an existing outlet. That is a weekend styling job. Adding a new outlet, a dedicated circuit, or plumbing a tap is not. If the only free outlet is on the hob wall, do not run a trailing cable across the worktop.
Cost: $20–60 (Rs 5,600–17,000) for a tray, four mugs, and canisters if you do not already own them. Time: 1 hour. Skill: beginner. Common mistake: parking the station in the main prep stretch so you lose 60 cm of chopping space. Spec: you need one outlet and about 50 × 40 cm of counter. Keep the machine 15 cm from the wall for steam, and store pods or filters in the drawer below, not in a second tray beside it.
If you only do three things
- Measure pull hole centers and swap hardware — biggest change per hour, no electrician.
- Degrease and fit peel-and-stick tile or paint only the island with proper primer and enamel.
- Use a plug-in 2700K under-cabinet LED kit if you have an outlet; hire an electrician for pendants or any new wiring.


Leave a Reply