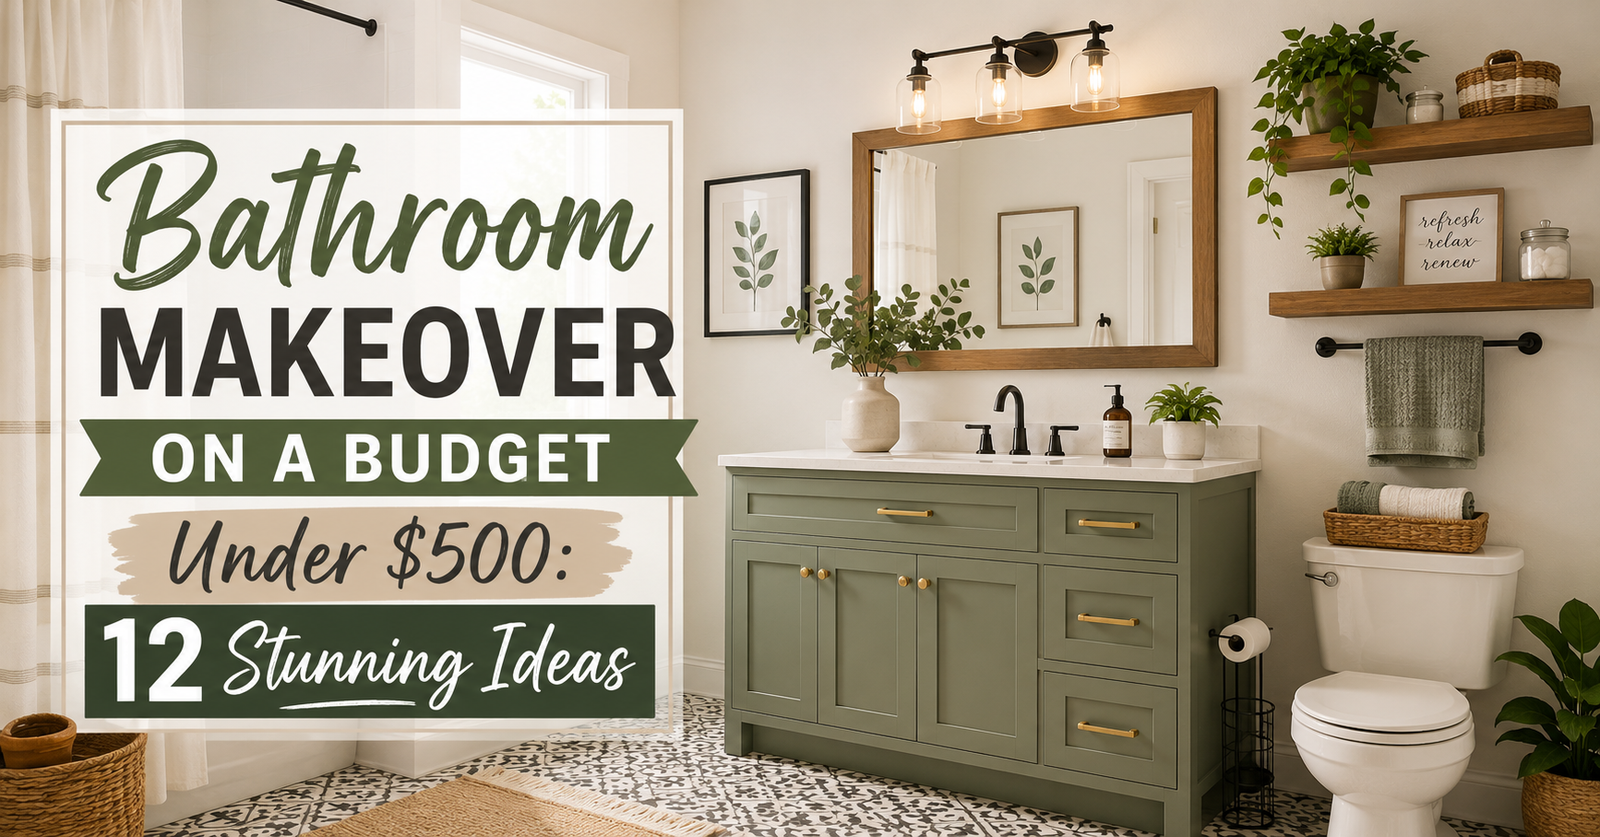
$500 (~PKR 140,000 at ~280 PKR/USD) will refresh what you see: paint, hardware, light, a mirror, grout, a curtain, and maybe a peel-and-stick floor. It will not move plumbing, replace a tub or shower pan, install a new vanity with plumbing, retile a wet wall, or add a window. Those jobs start in the thousands once labor and waterproofing appear.
Use the split below as a ceiling, not a shopping dare. Leave $40–$50 unspent until the last day. If the fan is dead or caulk is failing, those repairs jump the queue over décor.
| Bucket | USD | ~PKR | Notes |
|---|---|---|---|
| Paint + prep | $55–$80 | 15,000–22,000 | 1 gallon bath paint, primer, tape, filler |
| Vanity paint + primer | $40–$70 | 11,000–20,000 | Skip if laminate is peeling off the substrate |
| Hardware + bars | $35–$70 | 10,000–20,000 | Match hole centers; one metal finish |
| Light or bulbs | $25–$90 | 7,000–25,000 | Like-for-like fixture; electrician extra |
| Mirror / frame | $25–$80 | 7,000–22,000 | Frame the builder mirror if it is sound |
| Floor (optional) | $70–$120 | 20,000–34,000 | Only on a flat, dry floor |
| Grout + caulk | $15–$35 | 4,000–10,000 | Highest return per dollar |
| Curtain + rod | $20–$45 | 5,600–13,000 | Washable fabric + mildew-resistant liner |
| Storage | $20–$50 | 5,600–14,000 | One shelf or cart, not five |
| Towels + mat | $25–$50 | 7,000–14,000 | Two bath towels beat eight thin ones |
| Buffer | $40–$50 | 11,000–14,000 | Extra adhesive, a second caulk tube, tax |
1. Plan Your $500 Bathroom Budget Before Shopping
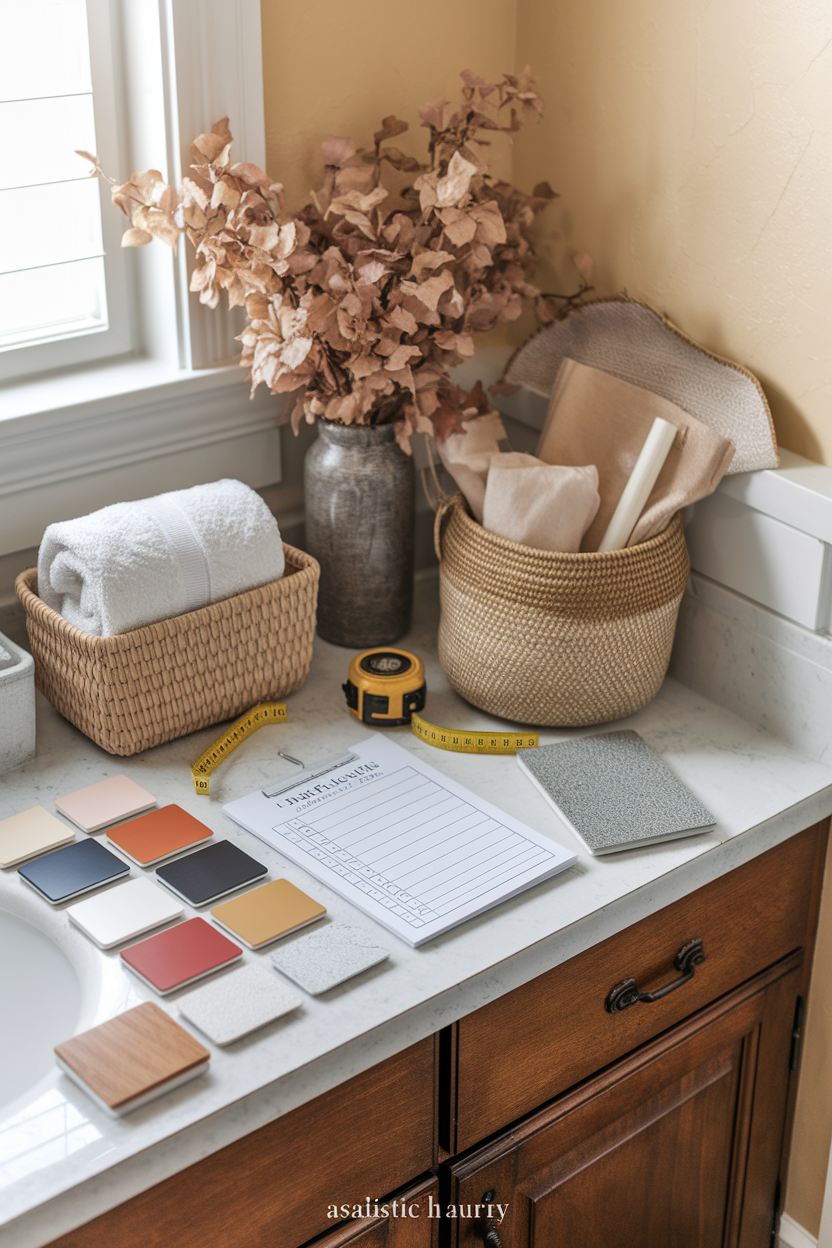
A plan is a photo of each wall, a tape measure, and a ranked list: leaks and mold first, then what you see from the doorway (walls, vanity face, mirror, light, floor). Time: 45 minutes. Skill: anyone; this is the only step that prevents a $90 décor haul that leaves stained caulk in place.
Common mistake: buying a new showerhead and art before you know whether the vanity doors still close. Spec: write the remaining dollars on a note on the bathroom door after each purchase. If a must-fix (active leak, crumbling caulk, dead GFCI) appears, cut the floor or décor line — not the repair.
2. Brighten the Walls With Fresh Bathroom Paint
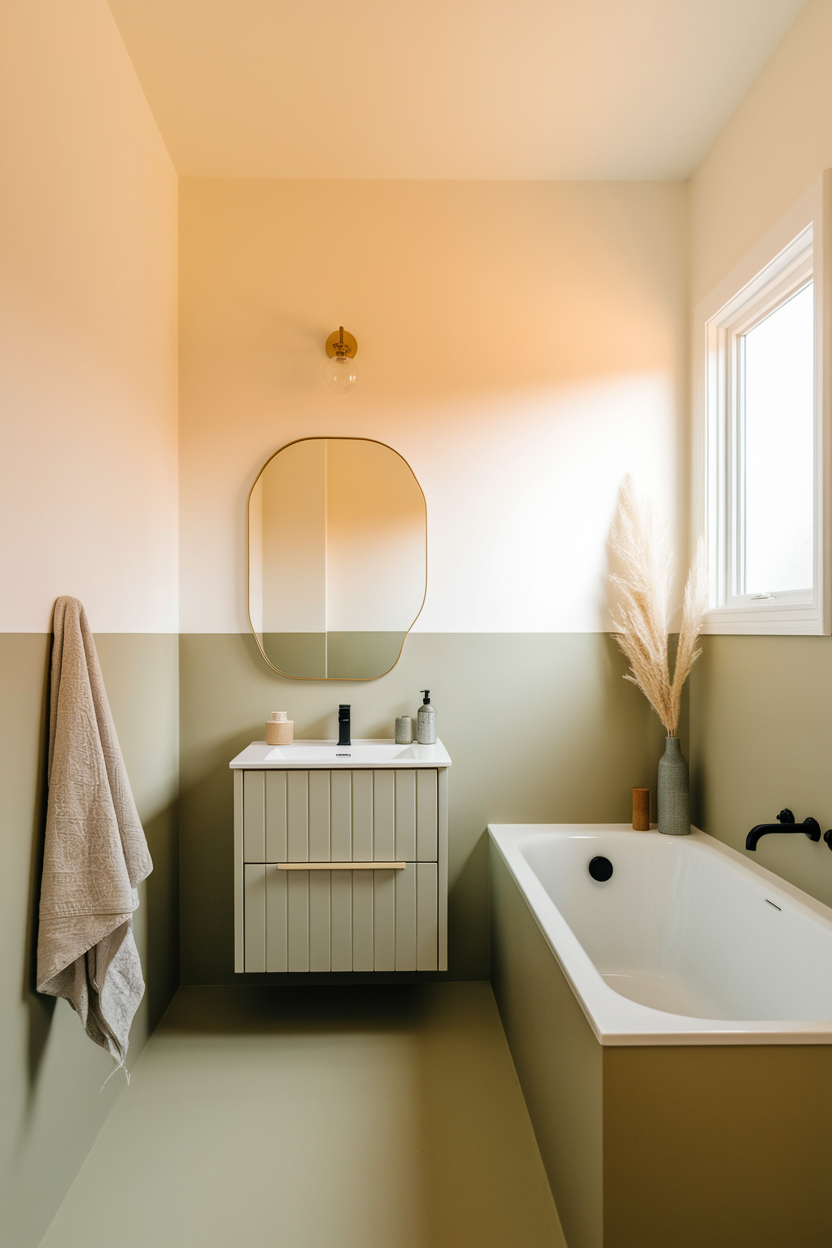
Bathroom-rated satin or semi-gloss in a light warm white, greige, or muted sage hides steam better than flat living-room paint. One gallon covers a typical 5×8 ft bath with leftover for a ceiling cut-in. Cost: $35–$55 plus $15–$25 in tape, caulk, and filler (~PKR 14,000–22,000 all-in). Time: 4–6 hours including dry time between two coats.
DIY. Hire a painter only if you have popcorn ceiling repairs or oil-based enamel to encapsulate. Common mistake: painting over soap scum; wash with TSP substitute first. Spec: eggshell is the minimum sheen on walls; keep a 2-in cut-in around the shower so you are not painting in the wet zone. Test the swatch on the mirror wall at night with your real bulbs.
3. Paint the Existing Vanity Instead of Replacing It
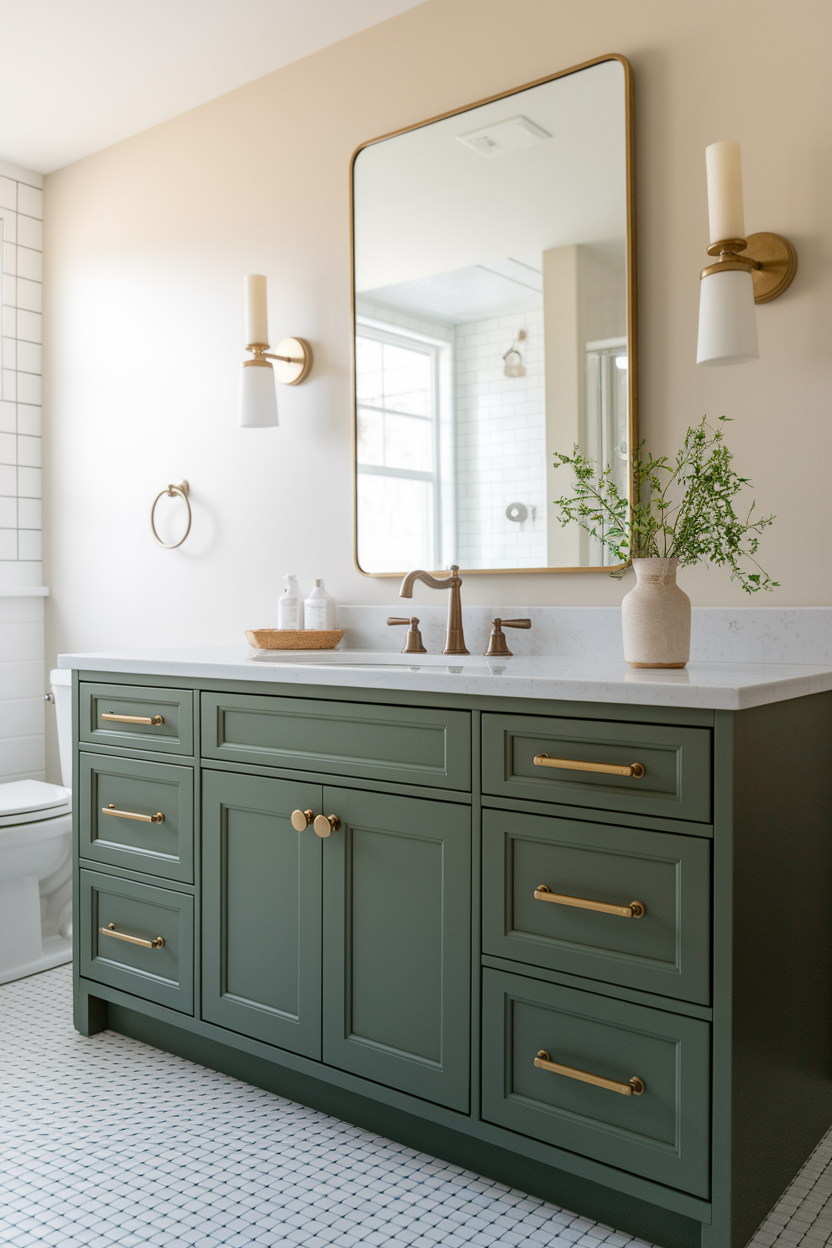
A new 30-in vanity with top and sink is $250–$700 before plumbing — that is the whole $500 budget. Cabinet enamel, a bonding primer, and a foam roller are $40–$70 (~PKR 11,000–20,000). Time: a weekend because dry time matters more than brush skill. Navy, charcoal, or warm white on a sound wood or MDF box is the usual win.
DIY if doors are wood or paintable thermofoil that is not peeling. Skip paint and keep the budget if particleboard is swollen. Common mistake: skipping primer, then chips at the door edges in two weeks. Spec: 220-grit scuff, bonding primer, two thin enamel coats; number the doors; leave them off 24 hours before rehanging. Do not paint the sink or a cracked laminate top — a $20 cutting board or tray hides chips better than paint on plastic.
4. Replace Dated Cabinet Hardware and Wall Fixtures
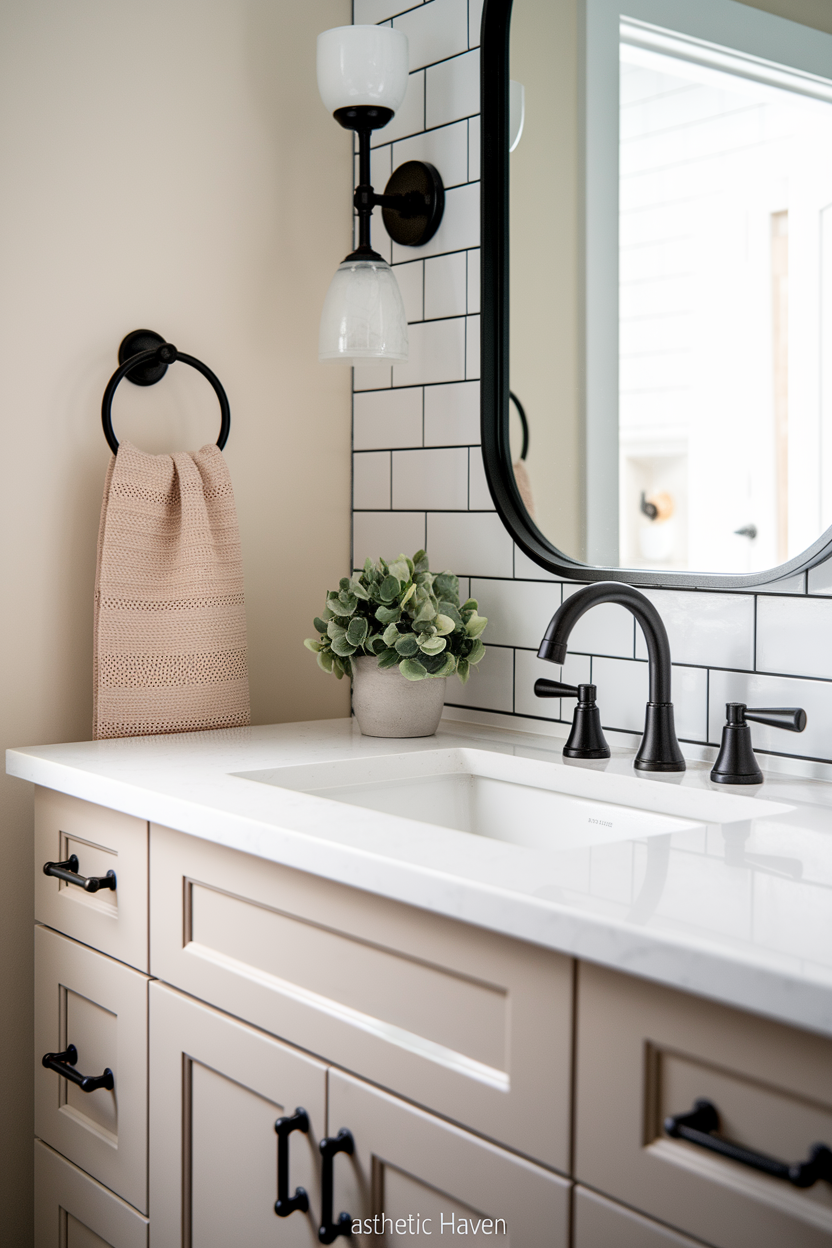
Knobs, pulls, a toilet-paper holder, and two towel hooks in one finish (brushed nickel, chrome, or matte black) cost $35–$70 (~PKR 10,000–20,000) if you stay in multipacks. Time: 1 hour. Skill: screwdriver and a tape measure.
DIY. Hire no one unless a bar is anchored only in drywall and keeps pulling out — then use a stud or a proper anchor. Common mistake: 96 mm pulls on a cabinet drilled for 128 mm (or 3 in vs 5 in) and a second set of holes. Spec: measure center-to-center before you click buy; match the existing metal on the faucet if you cannot replace the faucet on this budget.
5. Frame or Replace the Plain Bathroom Mirror
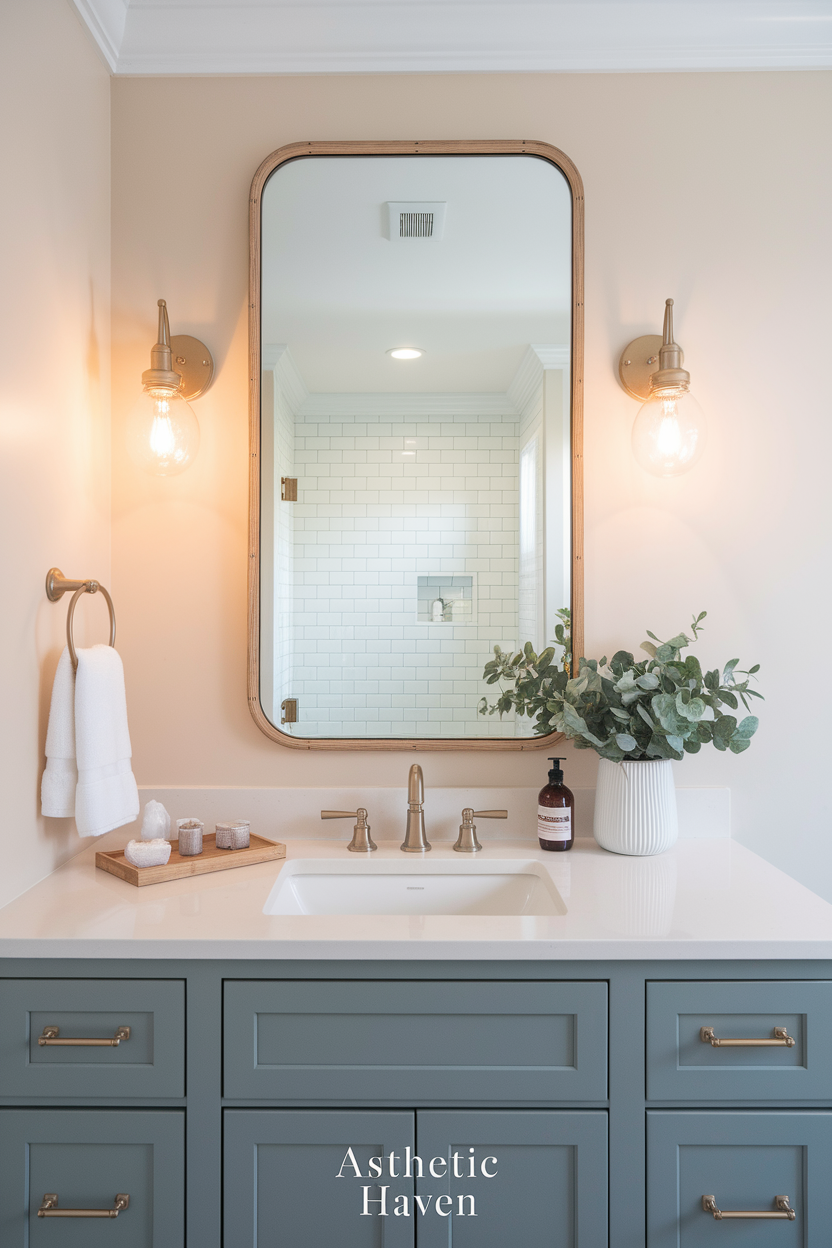
A clip-on or adhesive wood frame kit is $20–$40. A modest framed mirror from a discount store is $40–$80 (~PKR 11,000–22,000). Time: 1–2 hours. Framing the builder sheet is usually smarter than demolition if the silvering is intact.
DIY. Hire a handyman if the mirror is glued to drywall and you insist on removal — that job cracks walls and blows the budget. Common mistake: a mirror wider than the vanity, crowding the sconce or outlet. Spec: width about 2–4 in narrower than the vanity; bottom edge 5–10 in above the faucet; seal raw wood with polyurethane before it sees steam.
6. Improve the Bathroom Lighting for a Brighter Look
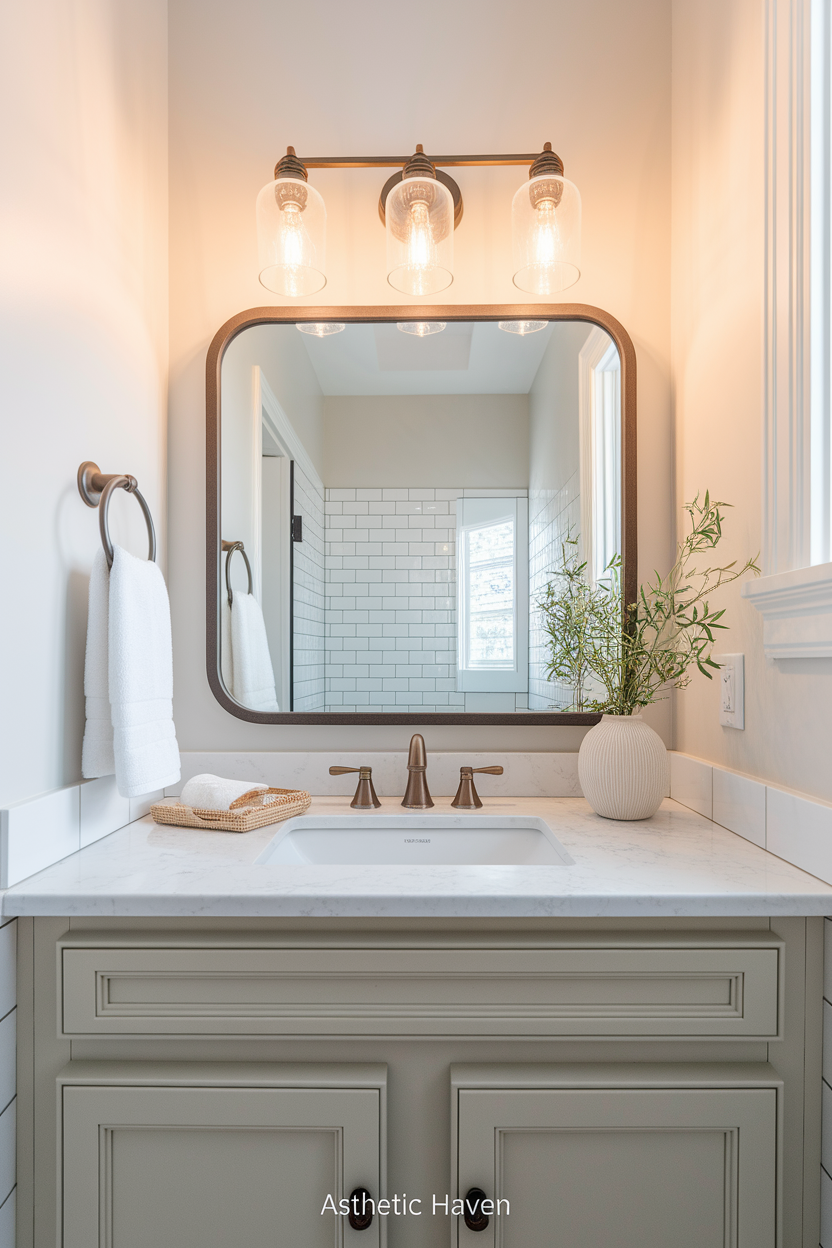
A basic 3-light vanity bar is $35–$90. LED bulbs alone (2700–3000K, high CRI) are $12–$25. An electrician for a new box is $150–$400 and is outside a strict $500 project — so swap like-for-like or improve bulbs and clean the shade. Time: 30–90 minutes for a swap.
DIY only if the power is off, the box is sound, and the fixture weight matches the box. Hire an electrician for anything else. Common mistake: decorative filament bulbs that put 400 lumens on a face that needs more like 1,500–2,000 at the mirror. Spec: match color temperature across ceiling and vanity; keep the fixture at least 75 in above the floor so you do not hit it with your head in a low room.
7. Cover Tired Flooring With Peel-and-Stick Tiles
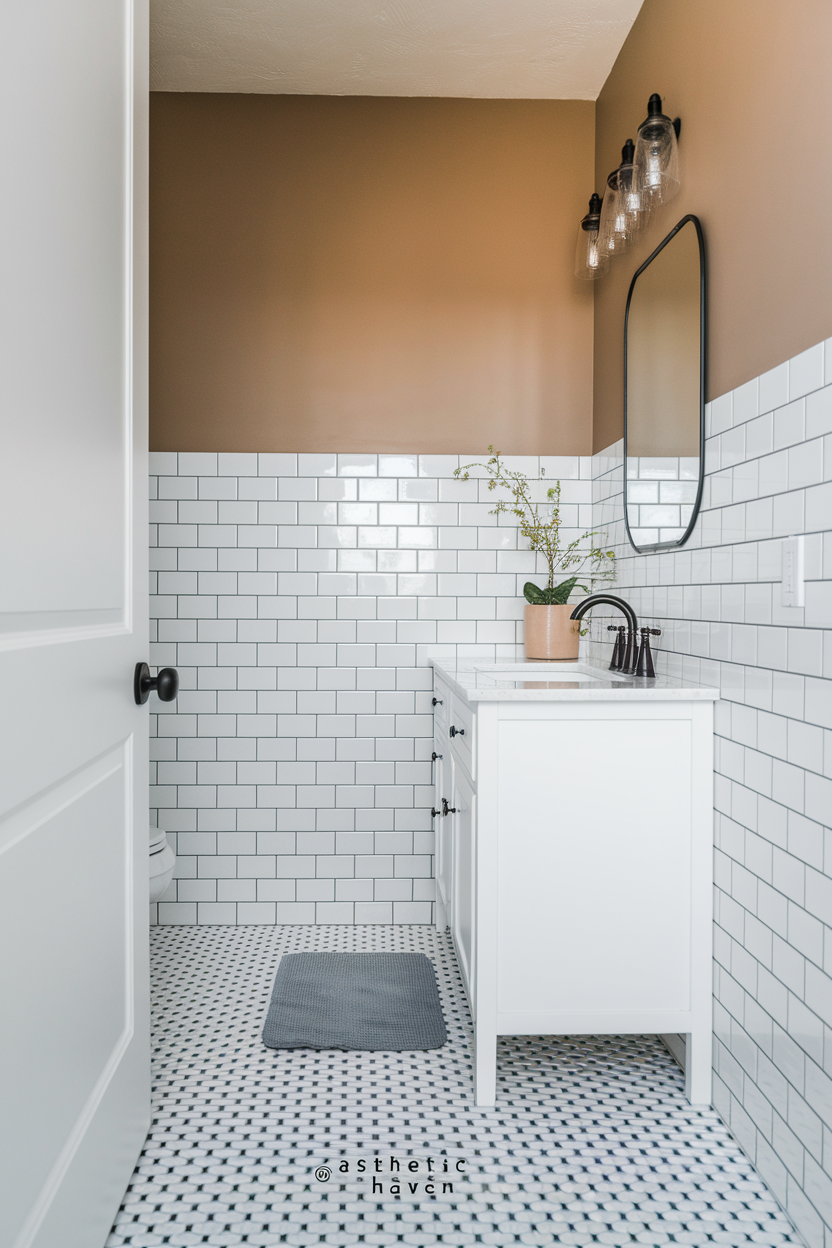
Vinyl peel-and-stick for a 40 sq ft floor is often $70–$120 (~PKR 20,000–34,000). Time: 4–8 hours including layout. This is a dry-area cosmetic lid, not a wet-room floor. If the vinyl is cupped or the subfloor is soft, skip it and put the money into caulk and a washable runner ($20–$40).
DIY on a smooth, well-stuck existing vinyl or tile. Do not use it in a constantly wet shower-exit zone with standing water. Common mistake: starting at the vanity instead of a dry layout from the center, then a sliver at the door. Spec: acclimate tiles 24 hours; leave a 1/8 in gap at walls; roll with a J-roller. Confirm the product is rated for bathrooms — many are not.
8. Refresh Stained Grout and Cracked Caulk
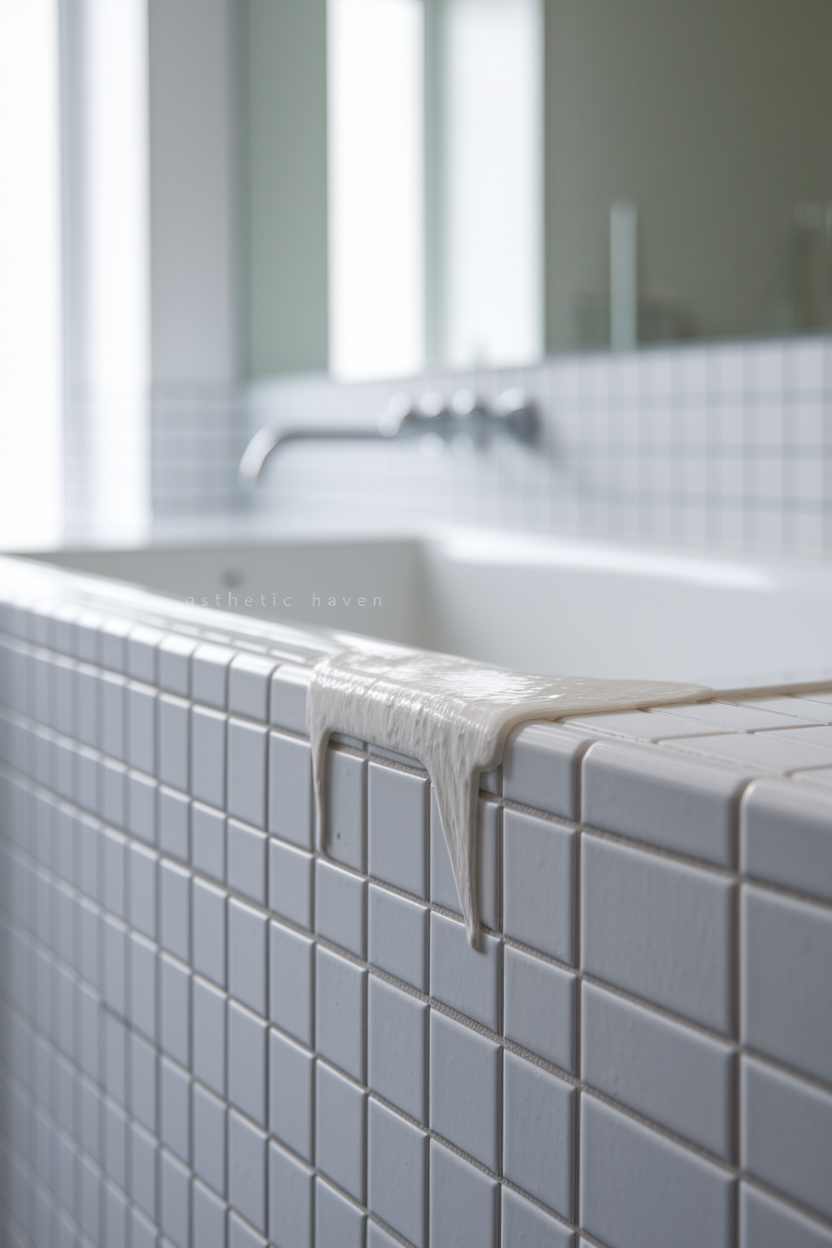
A grout brush, cleaner, grout pen or colorant, and kitchen-and-bath silicone are $15–$35 (~PKR 4,000–10,000). Time: 2–4 hours. This is the highest visual return on the list and the one job $500 must include if lines are brown or caulk is split.
DIY. Hire a tiler only if grout is missing in chunks or the shower leaks — that is beyond this budget. Common mistake: silicone over dirty, wet, or mildewed residue; it fails in weeks. Spec: remove old caulk completely, dry 24 hours, apply a 5 mm bead at tub/tile and sink/backsplash only (not over grout joints). Recaulk, do not regrout, change-of-plane joints.
9. Upgrade the Shower Curtain and Curtain Rod
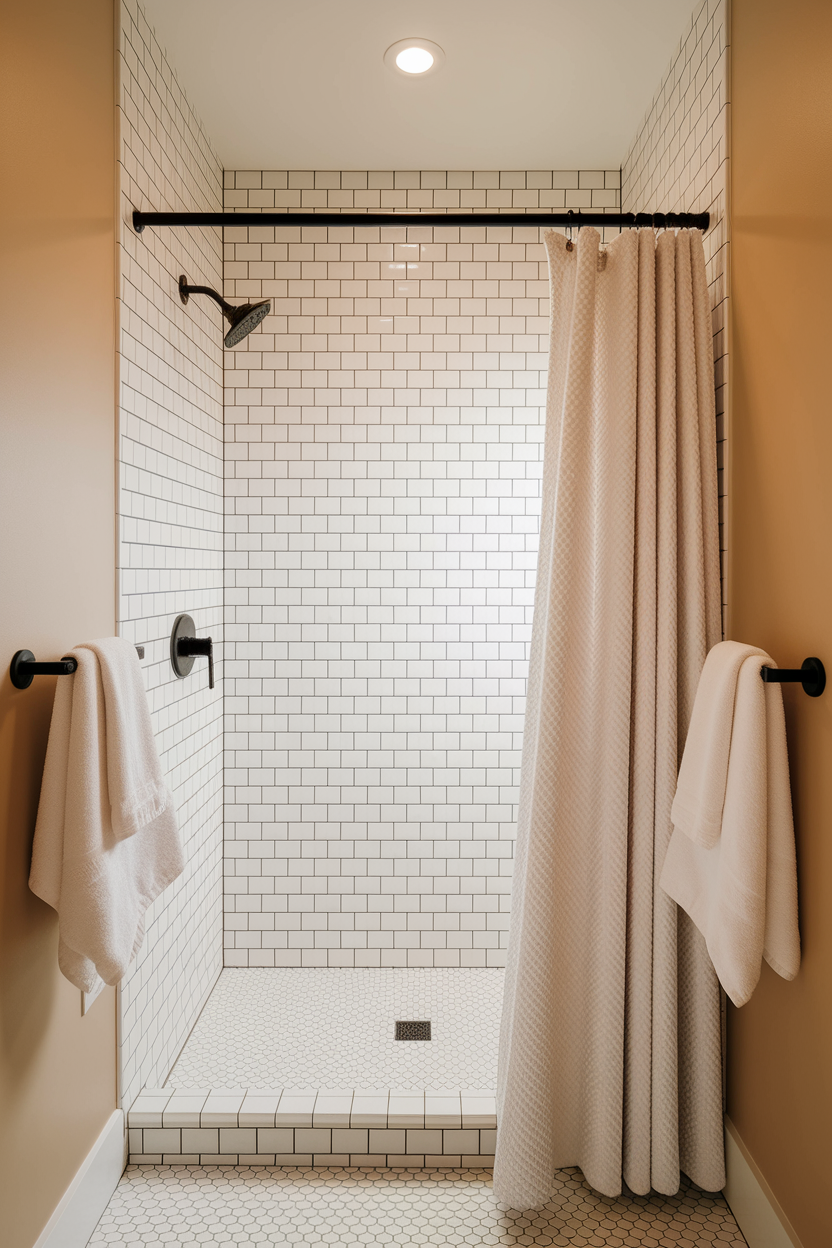
A washable fabric curtain, liner, rings, and a tension rod are $20–$45 (~PKR 5,600–13,000). Time: 20 minutes. A new curtain hides a tired tub surround you cannot retile on this budget. It does not replace a leaking pan.
DIY. Common mistake: hanging the rod in the tile and drilling — use tension if the walls allow, or existing holes. Spec: rod height that lets the curtain hem sit 1/2–1 in above the floor or just inside the tub; liner hung inside the tub. Wash the fabric monthly; replace the liner when it films over.
10. Add Affordable Storage Without Crowding the Room
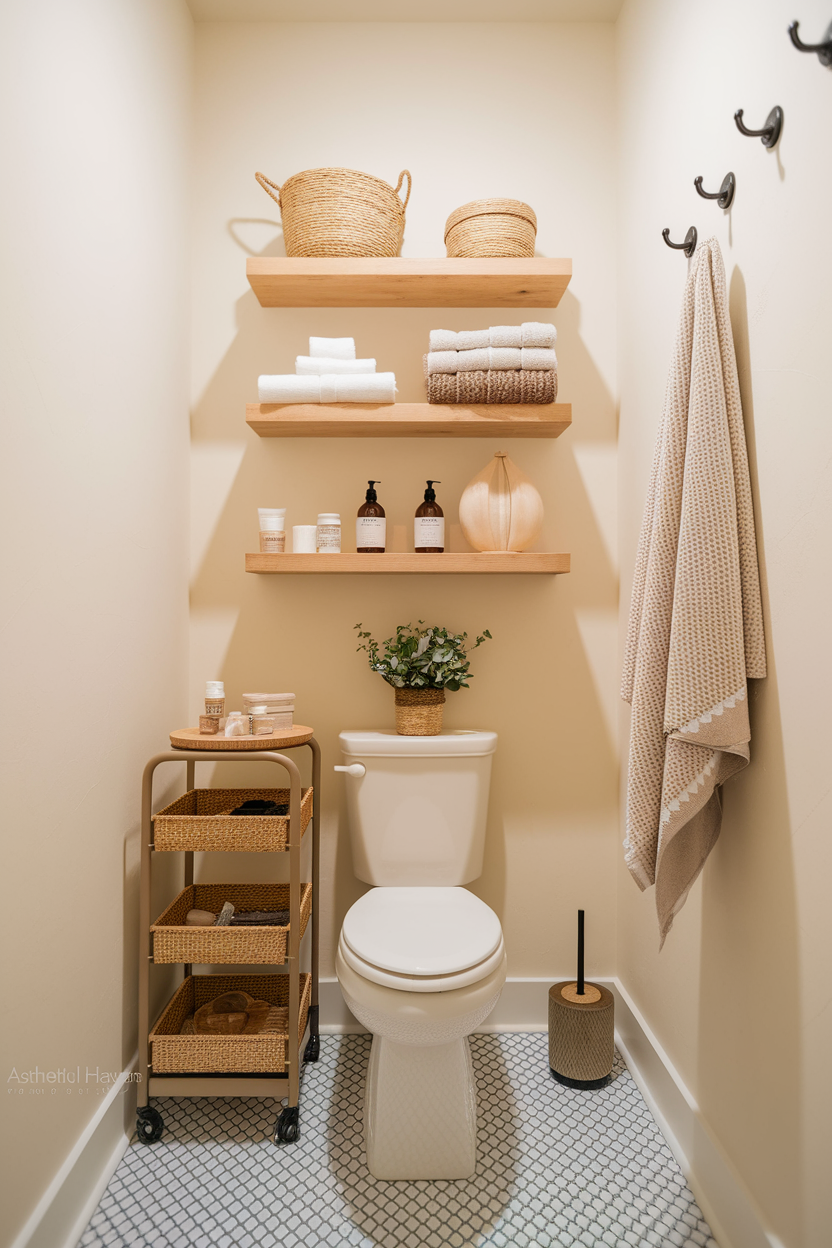
One 24-in shelf over the toilet or a slim cart is $20–$50 (~PKR 5,600–14,000). Time: 1 hour including anchors. Empty expired products first; storage that holds junk is still clutter.
DIY with wall anchors rated for the load. Hire a handyman if you are drilling into ceramic tile. Common mistake: a shelf that blocks the toilet tank lid or the door. Spec: 12 in minimum above the tank lid; 24–30 in of remaining walkway; two baskets max on a small wall so you can still clean.
11. Coordinate Towels, Washcloths, and the Bath Mat
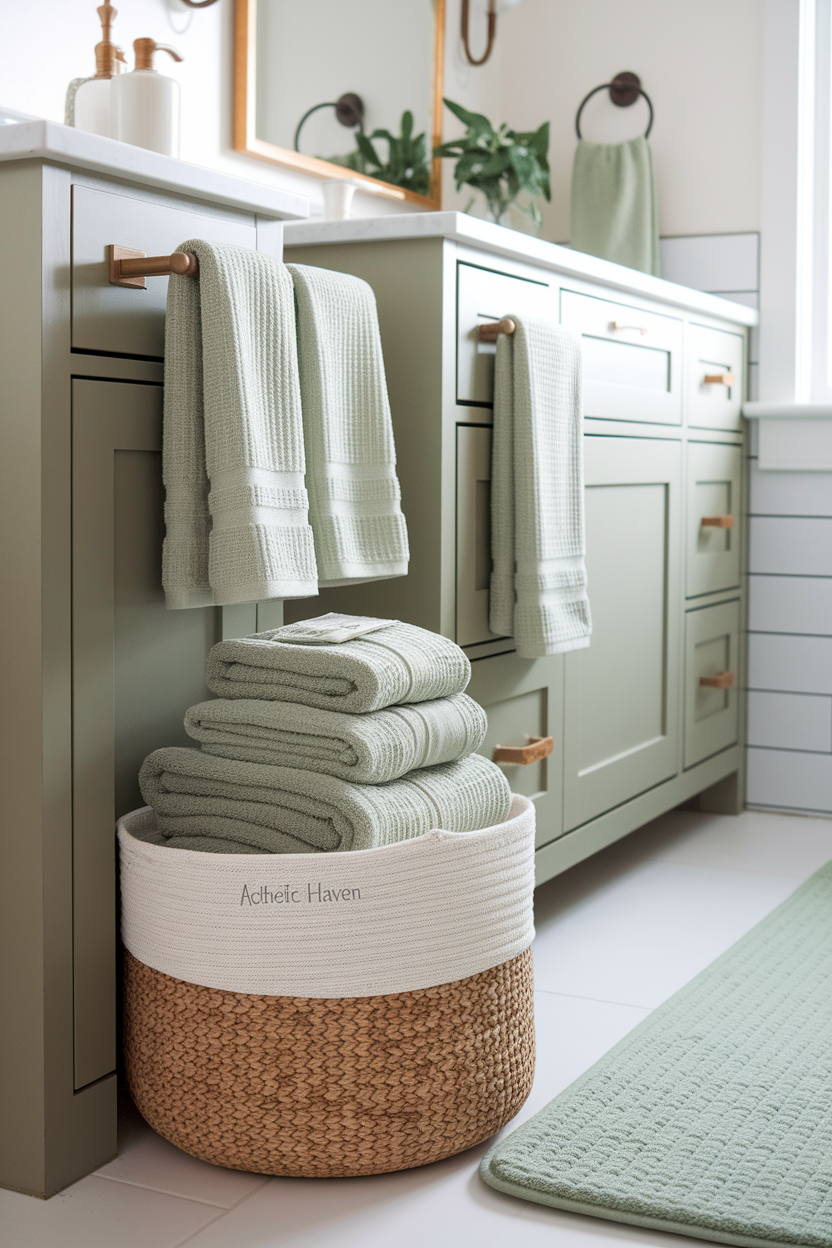
Two decent bath towels, two hand towels, and a low-pile washable mat are $25–$50 (~PKR 7,000–14,000). Time: a wash cycle. Skip eight-piece “hotel” sets of thin cotton that dry stiff.
DIY. Common mistake: a high-pile rug that stays wet and blocks the door. Spec: pick one color that already exists in the paint or shower curtain; cotton or cotton-blend, 500–700 gsm if you can find the weight listed. Hang towels fully spread; a damp pile on a hook stays sour.
12. Complete the Makeover With Simple Decorative Details
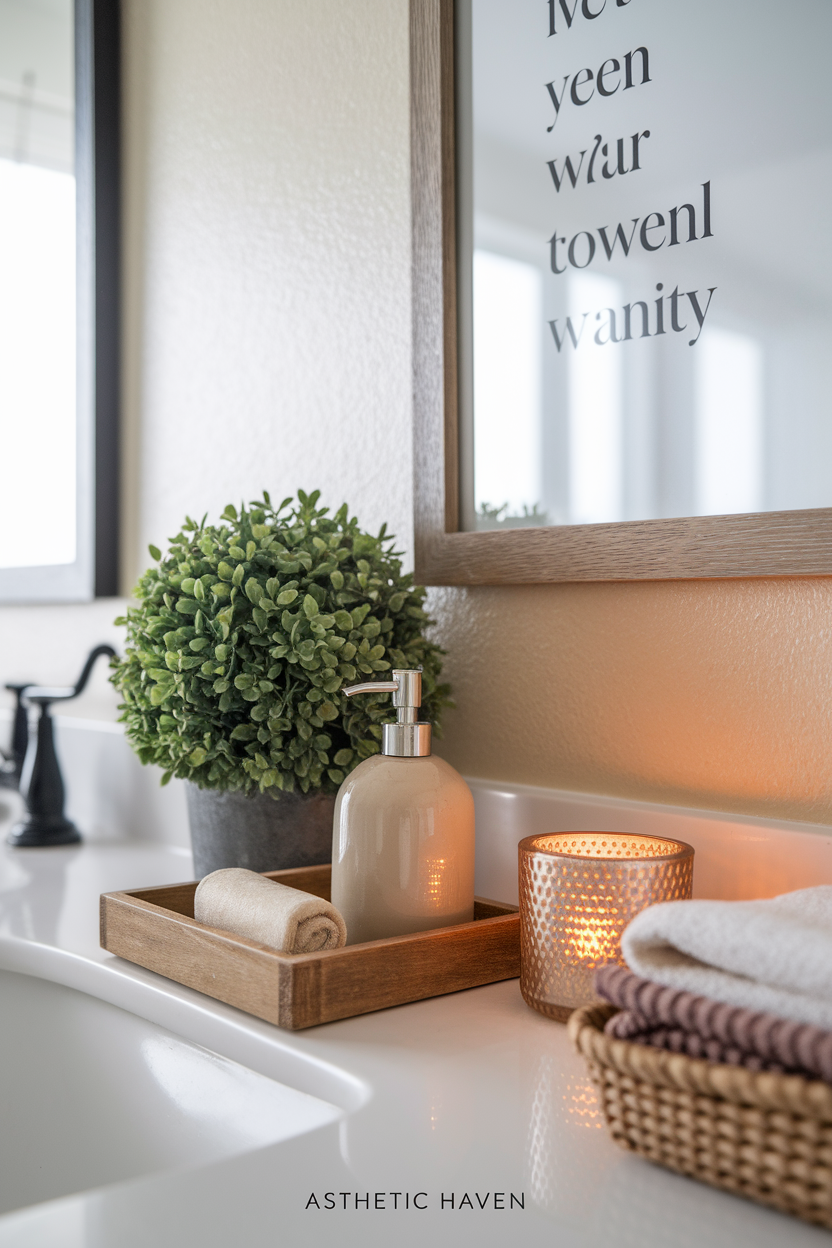
A soap pump, a small tray, and one print in a $10 frame should come from leftover budget — often $0–$25 if you shop the house first. Time: 15 minutes. This is last, never first. Steam kills cheap paper art; skip a live plant unless the fan works and there is a window.
DIY. Common mistake: filling the tank lid and every corner so the $400 of real work disappears. Spec: keep 70% of the vanity top clear; one object grouping on a tray. If the buffer is gone, stop. A clear counter reads more finished than three candles.
If you only do three things
- Fix caulk and grout, then paint the walls — those two jobs beat any accessory.
- Paint or hardware the vanity and improve the mirror light (fixture swap or better bulbs).
- Hold $40 back, and do not spend a dollar on décor until leaks, fan, and GFCI are sorted.



Leave a Reply